Another day, another boot screen for Ableton Live … let’s make something different happen in that DAW of choice. Here are some fast tips for changing how Live looks and mastering its cool Saturator.
None more black
There’s plenty of debate about what is and isn’t good for your eyes, but aesthetically – sometimes you want a dark mode. And those darker themes look far better when there’s not much light around. Ableton have dark themes built into Live now, but they’re still just shades of gray. Enter the customizers.
You can seriously obsess over this, but this creation by Anthony Milano is my new favorite – still with enough UI elements that you don’t get lost, and native-looking enough that you could almost be convinced it came from Ableton, but very attractive. (I also can’t spot any issues with the most common color blindness issues, but let me know if you find otherwise.)
And of course it’s on Deviant Art:
https://www.deviantart.com/anthonymilano/art/SKIN-Dark-2-for-Ableton-Live-10-735023504
It says skin, but it’s a Live 10 theme.
Why do these continue to be popular? Well, obviously – death sells.
Learn Saturator
Ableton’s own internal Devices often hide some powerful features, and the Saturator that’s been available since Live 9 is no exception. So sometimes it’s good to leave aside your copious plug-in collection and learn every trick you can.
If you’ve been hearing about concepts like waveshaping from modular synths, for instance, but didn’t know how to get started – it’s also right there inside your copy of Live. LNA (aka Liina music) does a great job of going through this tool.
I explain the concept of waveshaping and clipping, as well as all its features: Drive, X-Y display, DC, Colour and its filter controls (Base, Frequency, Width and Depth), Signal shaping fixed modes, waveshaping mode (Drive, curve, Depth, Linear, Damp, Period), Soft Clip, Output and Dry/Wet.
Just reading that, you already get clued in that this is more than just a vanilla “saturation” effect. LNA is doing great stuff on their channel, LNA Does Audio Stuff – I finally just subscribed. (It’s weekly, every Sunday, so a good chance to reinvigorate the end of some weekend studio time!)
Make devices and plug-ins visible
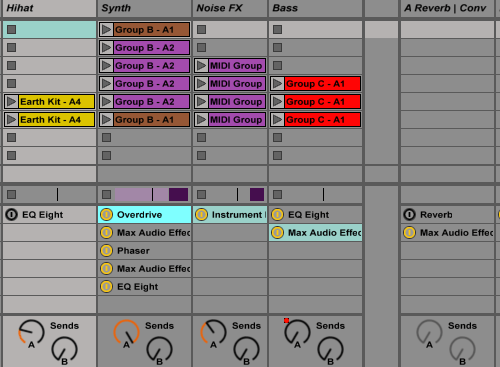
This is an old trick, but honestly somewhere in various version upgrades I forgot to switch it on again!
Ableton hides various options in a file called options.txt – Madeleine / Sonic Bloom has done a whole series on them. But the one a lot of people likely want allows you to see Devices and plug-ins vertically in each channel strip.
That’s the way most other DAWs work, and it’s very useful to seeing which effects you’re using – plus, invariably, switching a lot of them off. (I admit it, I sometimes add effects I don’t really need while messing around with productions.)
Here’s a nice written explanation of how to use it,
Thanks to Iti in Estonia for reminding me of this one. (She’s also organizing user groups up there!)
Madeleine’s video, if you prefer video to reading:
Bonus – check out masterful Push skills
I’ve been returning to Ableton Push as a way to get more hands-on with anything sitting in Live.
We’ve regularly covered Thomas Piper; he’s really great inspiration for how to work with Push as an instrument. While I’m getting my chops up I’m definitely watching him again! Subscribe to his channel; it’s worth it – plus lately he was also doing really wild stuff using AI and Martin Luther King.
Finish? Never!
Oh yeah, and Reddit?
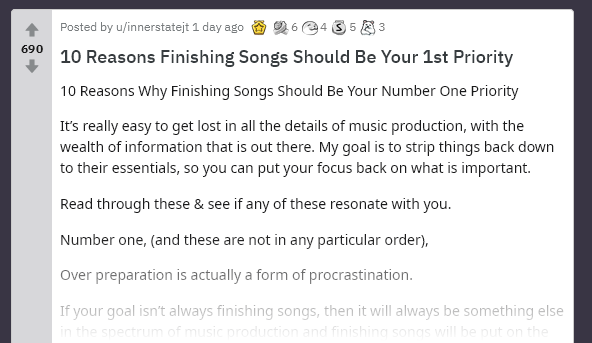
No! You’ll never take me alive!
Here, I found a song to sing to my tracks, even:
Oh, wait, that is a deadline coming up on the 31st for one of them, so I better actually finish.