A visualist with a digital camera is stop-motion video just waiting to happen. Since gaining access to a Pentax *IST DS digital SLR I’ve hacked together a functioning cable release which produced reasonable results. This was a very inelegant setup, though simple, and I feel it may put undue stress on the shutter mechanism. So I’ve been looking around for something which would allow variable-interval timelapse shooting, but not cost as much as a professional timer switch, or intervalometer.
Et Volia!
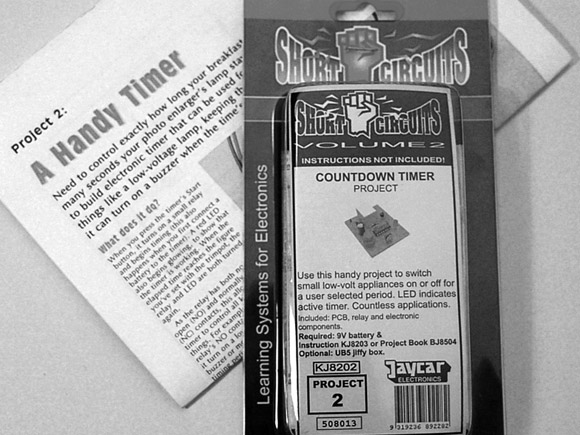
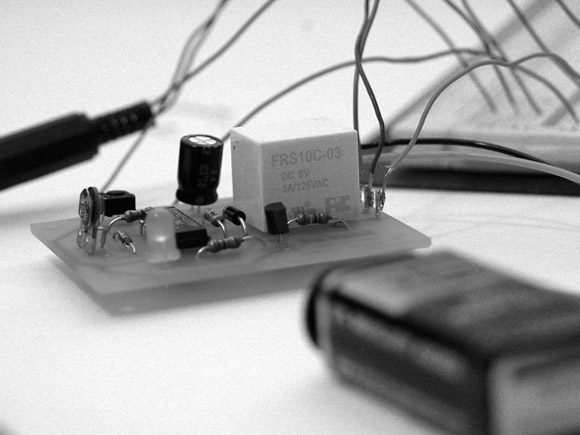
Australian electronics-nerd supplier extrordinaire Jaycar Electronics has the Countdown Timer project for AU$12.95 (+$2 for the beautifully photocopied instructions). It’s not a precise timer – the digital version costs much more – but it is adjustable from ~15 seconds – 5 minutes.
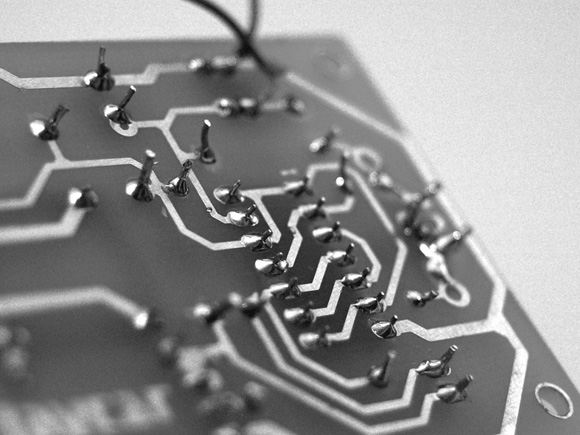
I’m no solder-ninja. The last circuit I put together was a crystal radio, and it didn’t work. This looked reasonably straightforward though, and I have the benefit of an excellent assortment of electronics equipment lent to me by a friend who didn’t know any better.
US readers looking for a similar kit are spoilt for choice. Here is a particularly attractive one.
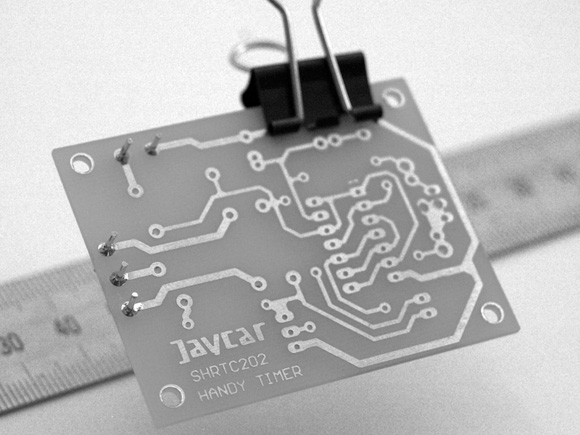
Putting the kit together was relatively straightforward. After a quick soldering primer things progressed quite quickly. The colour codes of the supplied resistors didn’t seem to bear any resemblence to the values required, but fortunately I had a multimeter handy which allowed me to identify which one went where and get everything together.
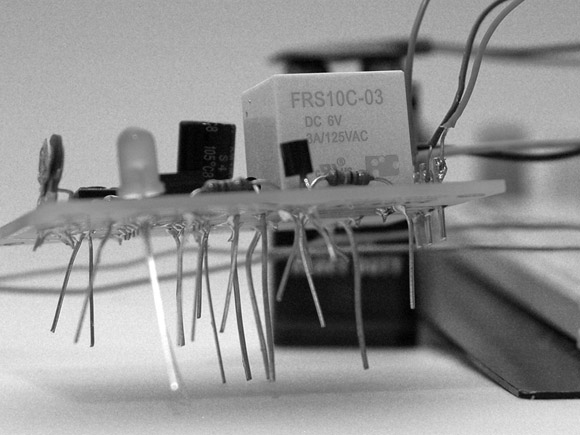
Aaand it worked first try. Pressing the reset button turned on the LED with an audible click from the relay, and a collection of seconds later it turned off. Excellent. Now I needed something to plug into the camera.
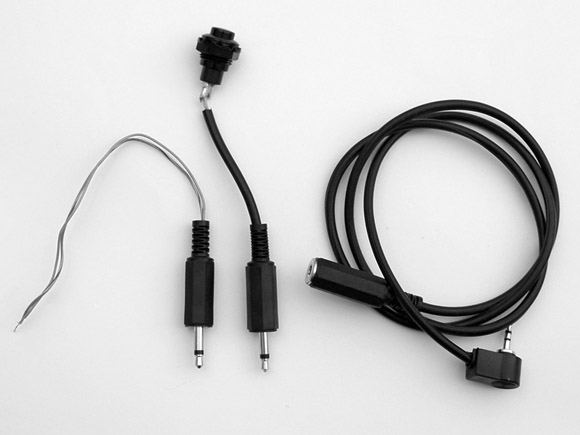
It appears that most cameras – both SLR and Point&Shoot – just use a 2.5mm stereo mini-jack to connect a cable release. One side triggers autofocus, the other releases the shutter. I don’t really want to use auto-focus, so I just picked up some extra mono jacks and a plug to allow my cable to be modular. I can choose to have a manual button, electronic intervalometer, or an always-on trigger which just short-circuits the jack and makes the camera fire at full speed in burst mode.
This completed, the only remaining problem was getting the circuit to function as an interval timer, rather than just a single-shot. Holding down the reset button didn’t work – the timer didn’t even start. Fortunately the relay included has both normally-open and normally-closed contacts. When the timer is up the closed side switches open and vice versa. Wiring the normally-closed side across the start button puts the circuit in a loop, as soon as the relay is triggered it closes the reset circuit, restarts the timer and opens the reset circuit in a fraction of a second.
Connecting the camera release to the normally closed side of the relay and making sure the camera is on single-shot mode made everything work perfectly. For the camera it’s as if the shutter is held down and released for a moment every 15 seconds. By replacing the kit’s potentiometer with different values it’s possible to increase or decrease the timer’s range, but I was happy with the factory setup and ready for a test shoot:
I learned a couple of things shooting this piece. Most importantly: Don’t use testing circuit connections in a production environment. After about 5 minutes one of the cable release wires worked its way out, which resulted in several minutes of scrabbling around frantically trying to get a connection which would hold. Also, as the lens was on manual and pointing slightly downwards it slowly lost focus. For future shoots I’ll engage autofocus mode. Autofocus won’t be triggered by the cable release, but the focus motor should prevent the lens from moving.
Next from the Timelapse Lab: Why are my exposure and colour balance varying so much?