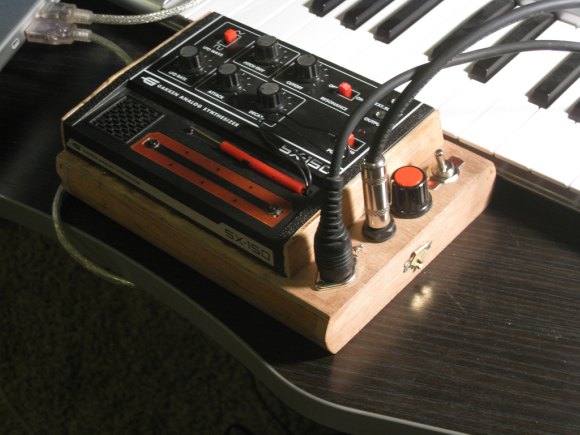
A $50 synth that makes neat noises is fun. But a $50 synth that has a proper housing, audio jacks, and can be MIDI controlled — that’s a whole lot better. So readers were wowed last week as we saw the work MrBook did with his Gakken SX-150.
Now, by popular demand, MrBook shares his techniques with specs, instructions, and code. This isn’t a bad project to get started with if you’ve been thinking of doing something on these lines.
The basic ingredients and process:
- Find the connections on the synth for audio and control, using contact points on the board
- Build a simple circuit that adds MIDI input (control) and audio output – schematic on his site. It’s not a tough circuit at all — this could be fun soldering practice.
- Add the Arduino, the open source, dirt-cheap, accessible microcontroller project board, and some code MrBook has written for you.
That should be fun even for relative newcomers – provided you have basic soldering chops. If you want to get more advanced, there’s room to modify the Arduino code to do fun stuff, or, as MrBook is doing, add a standalone Arduino sequencer or the like to drive your synth in hardware alone. (While I’m still on a crusade to do OSC for stuff that talks to computers, I think MIDI should absolutely be used for what it’s good add – connecting hardware.)
You can also have some fun with the casing. (Someone needs to mod the drab colors on the Gakken, too, I think.)
If you do a project and document it, do let us know! And we’ll be watching for more from MrBook.
You can get your SX-150 kit from our good friends at MAKE. (Nope, I’m not getting any cash for saying that. Hmmm… okay, I need an affiliate account, don’t I? Make?)
SX-150 synth mod instructions, schematics and code [MrBook]