Imagine granular synthesis, taken in entirely different dimensions. That’s Incline — Cristián Vogel’s cross-bred mixture of microsound and machine learning segmentation. It explodes sounds into a highly configurable topography, then applies precise envelopes, with unique rhythmic and textural results. Here’s how to explore those strange new worlds.
Granular synthesis is conventionally mapped onto a single time axis. You navigate that microsound world in linear time: you can repitch sounds, stretch sounds, and even randomize position back and forth. But from the densest tonal textures to the most chaotic clouds, everything remains relative to that time axis. Even in the weird world of granular synthesis, digital sound paradigms still mostly follow the precedents set by the tape heads and needles.
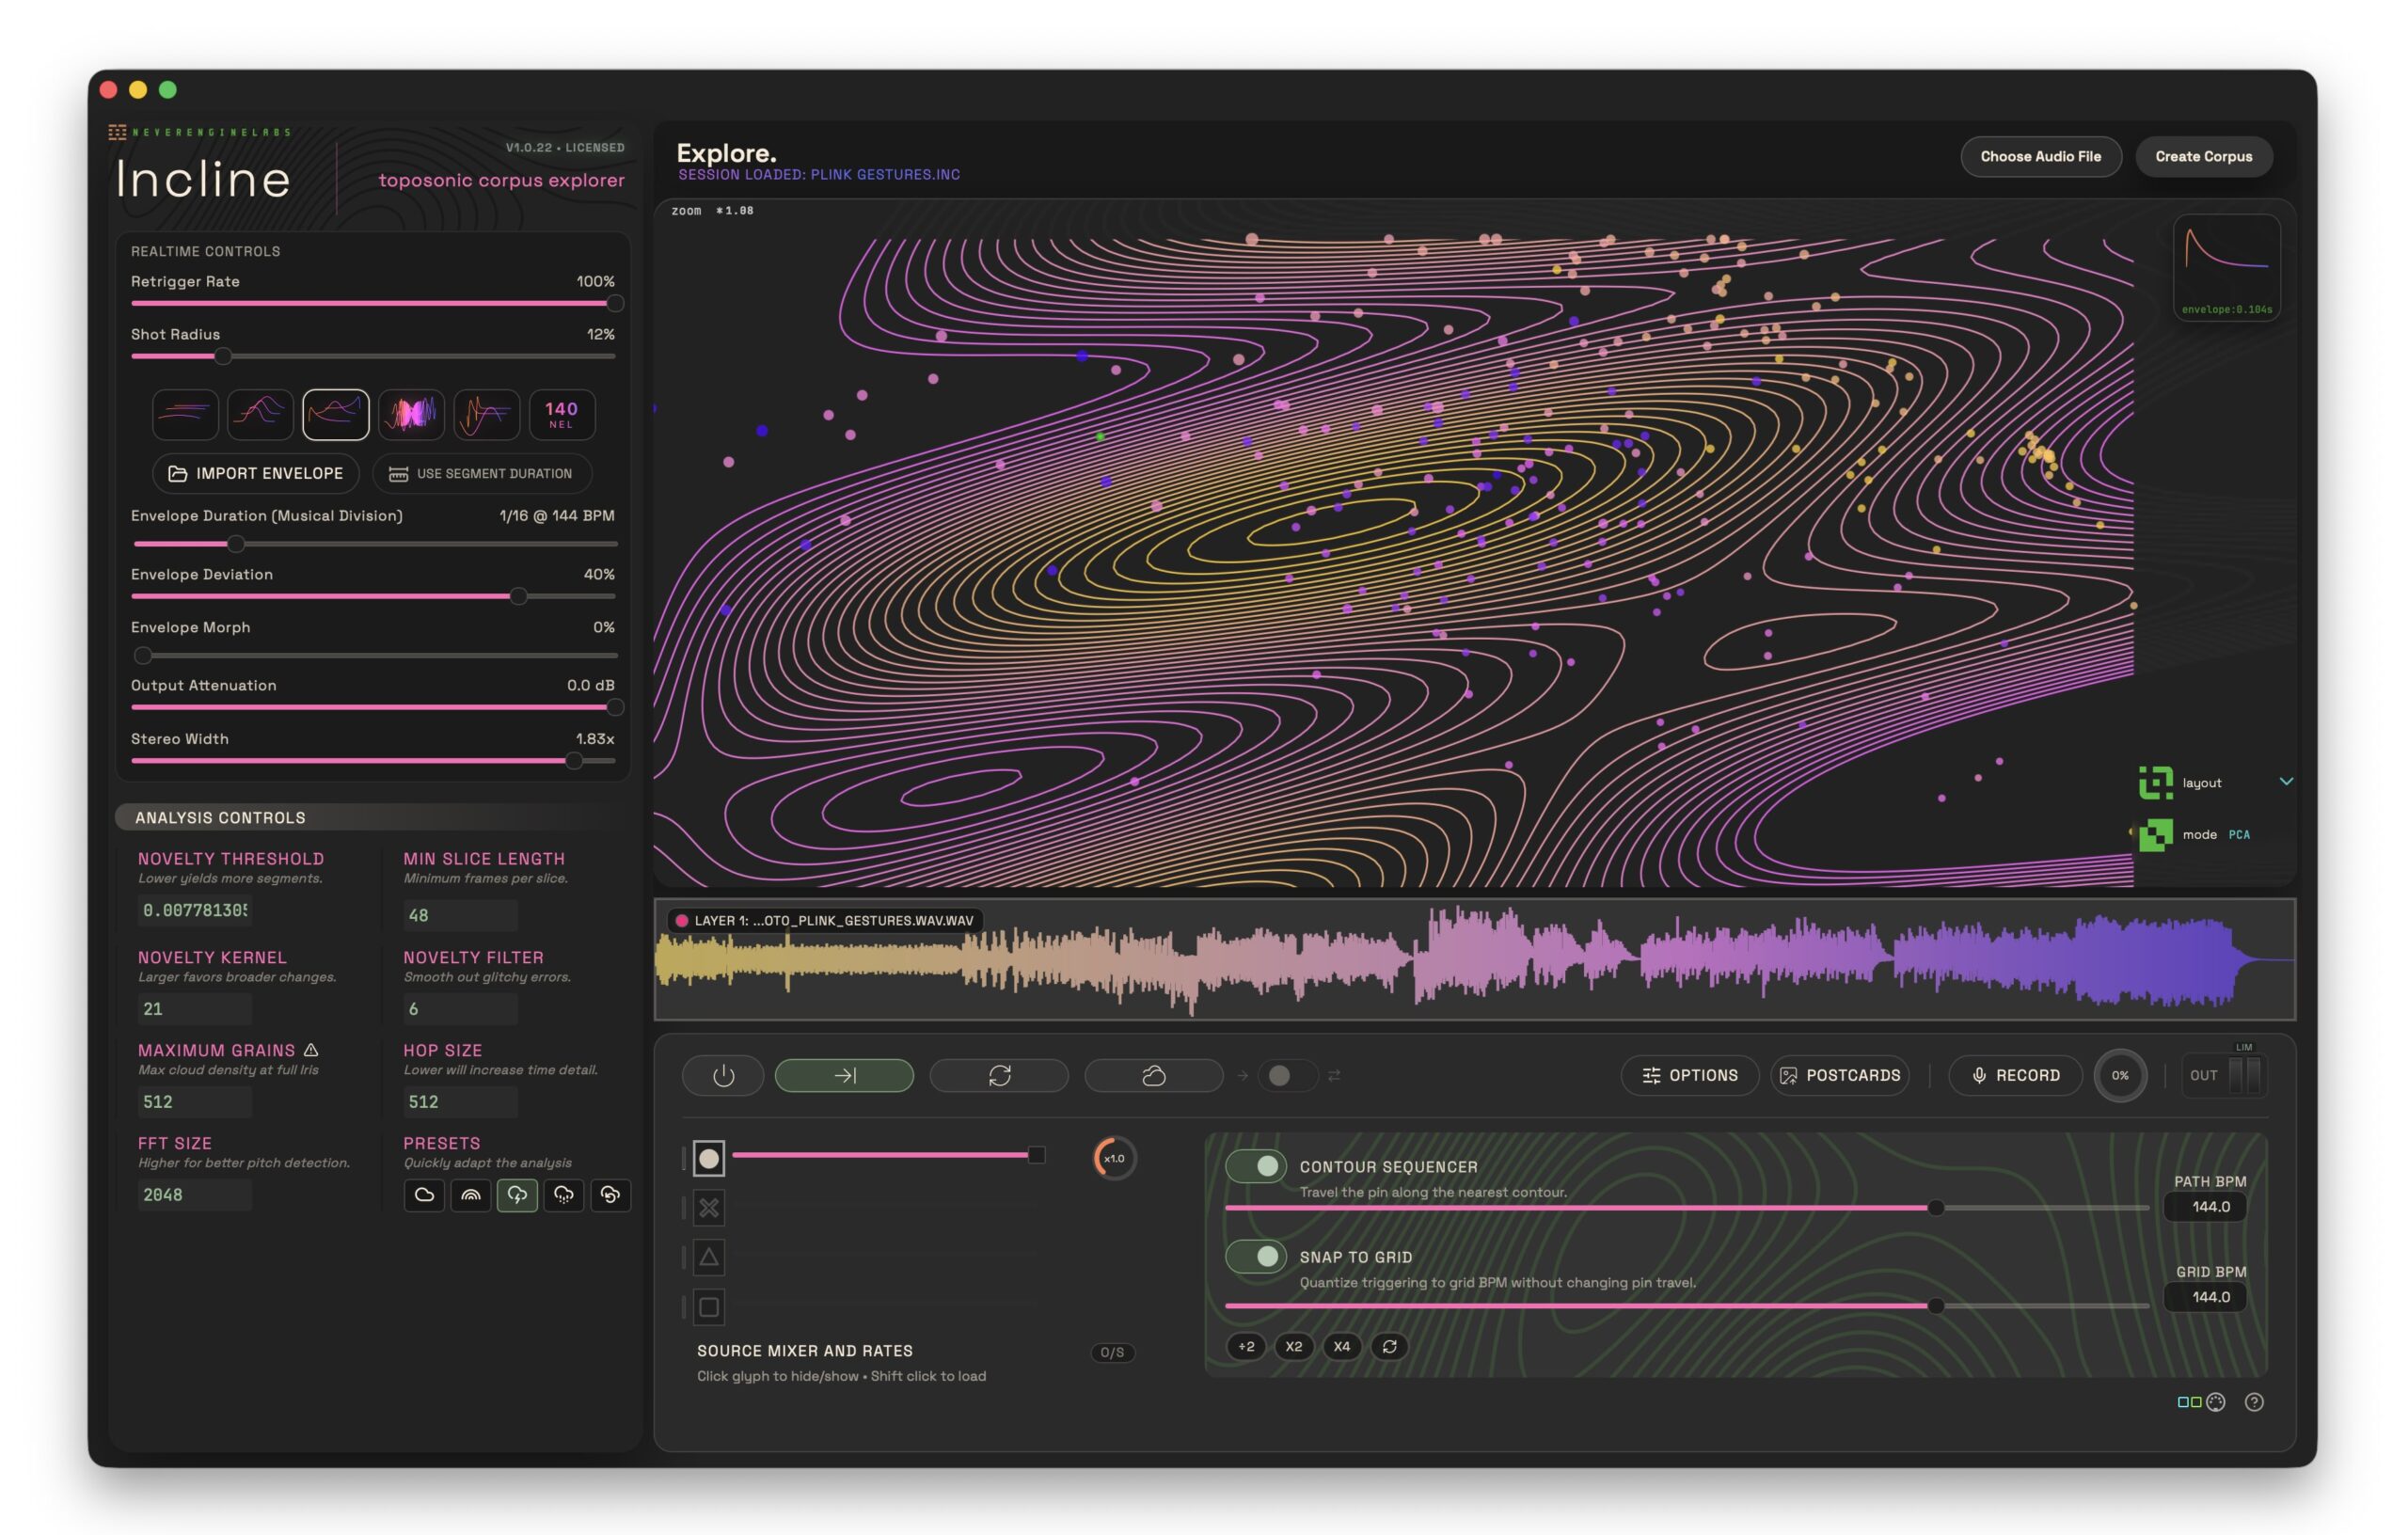
Here’s where Incline takes a different tack. Instead of that x-axis of time, you create a two-dimensional landscape, complete with segmentation, then “perform” the sound by traversing the terrain. The visualized results are even drawn out with arcing contour lines, like you’re looking at a topographical map. (That’s so beautiful that I hope it starts a trend; I’ve always had a fascination with those maps.)
Cristián is going deep into the untapped possibilities of machine learning (or “machine listening,” if you prefer). It’s a chance to visualize and atomize sound in new ways, even weaving sounds together. Navigating the map is a musical process, thanks to pre-tuned settings, beat quantization, and various forms of automated playback along the segments. That can create fascinating stuttered rhythmic effects, not just the murky clouds you may think of when you hear granular synthesis.
The envelopes may be the best part of Incline. Unlike other granular tools that might give you a choice of a curve or two, maybe with a shaping control, Incline gives you a full-blown wavetable engine with index control and import. That includes the ability to craft and import files from NEL’s excellent WaveKitchen, a dedicated wavetable generation studio. You can go way beyond the basic Hanning and Gaussian windows you might find in a typical granular synthesis tool.
And all this power adds up to a tool that can produce highly specialized, personalized results. Listen to some examples I cooked up, using synth samples of my own:
To get a sense of how this works, let’s walk through a typical workflow.
Step by step
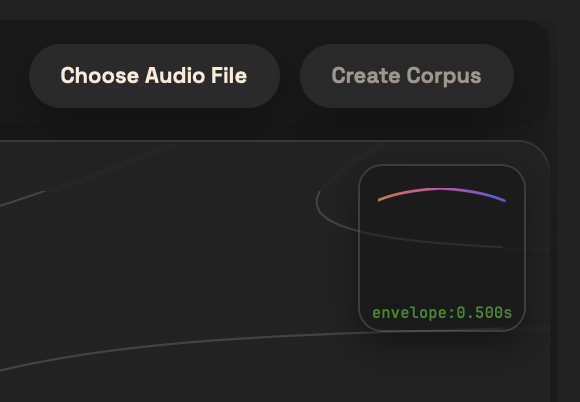
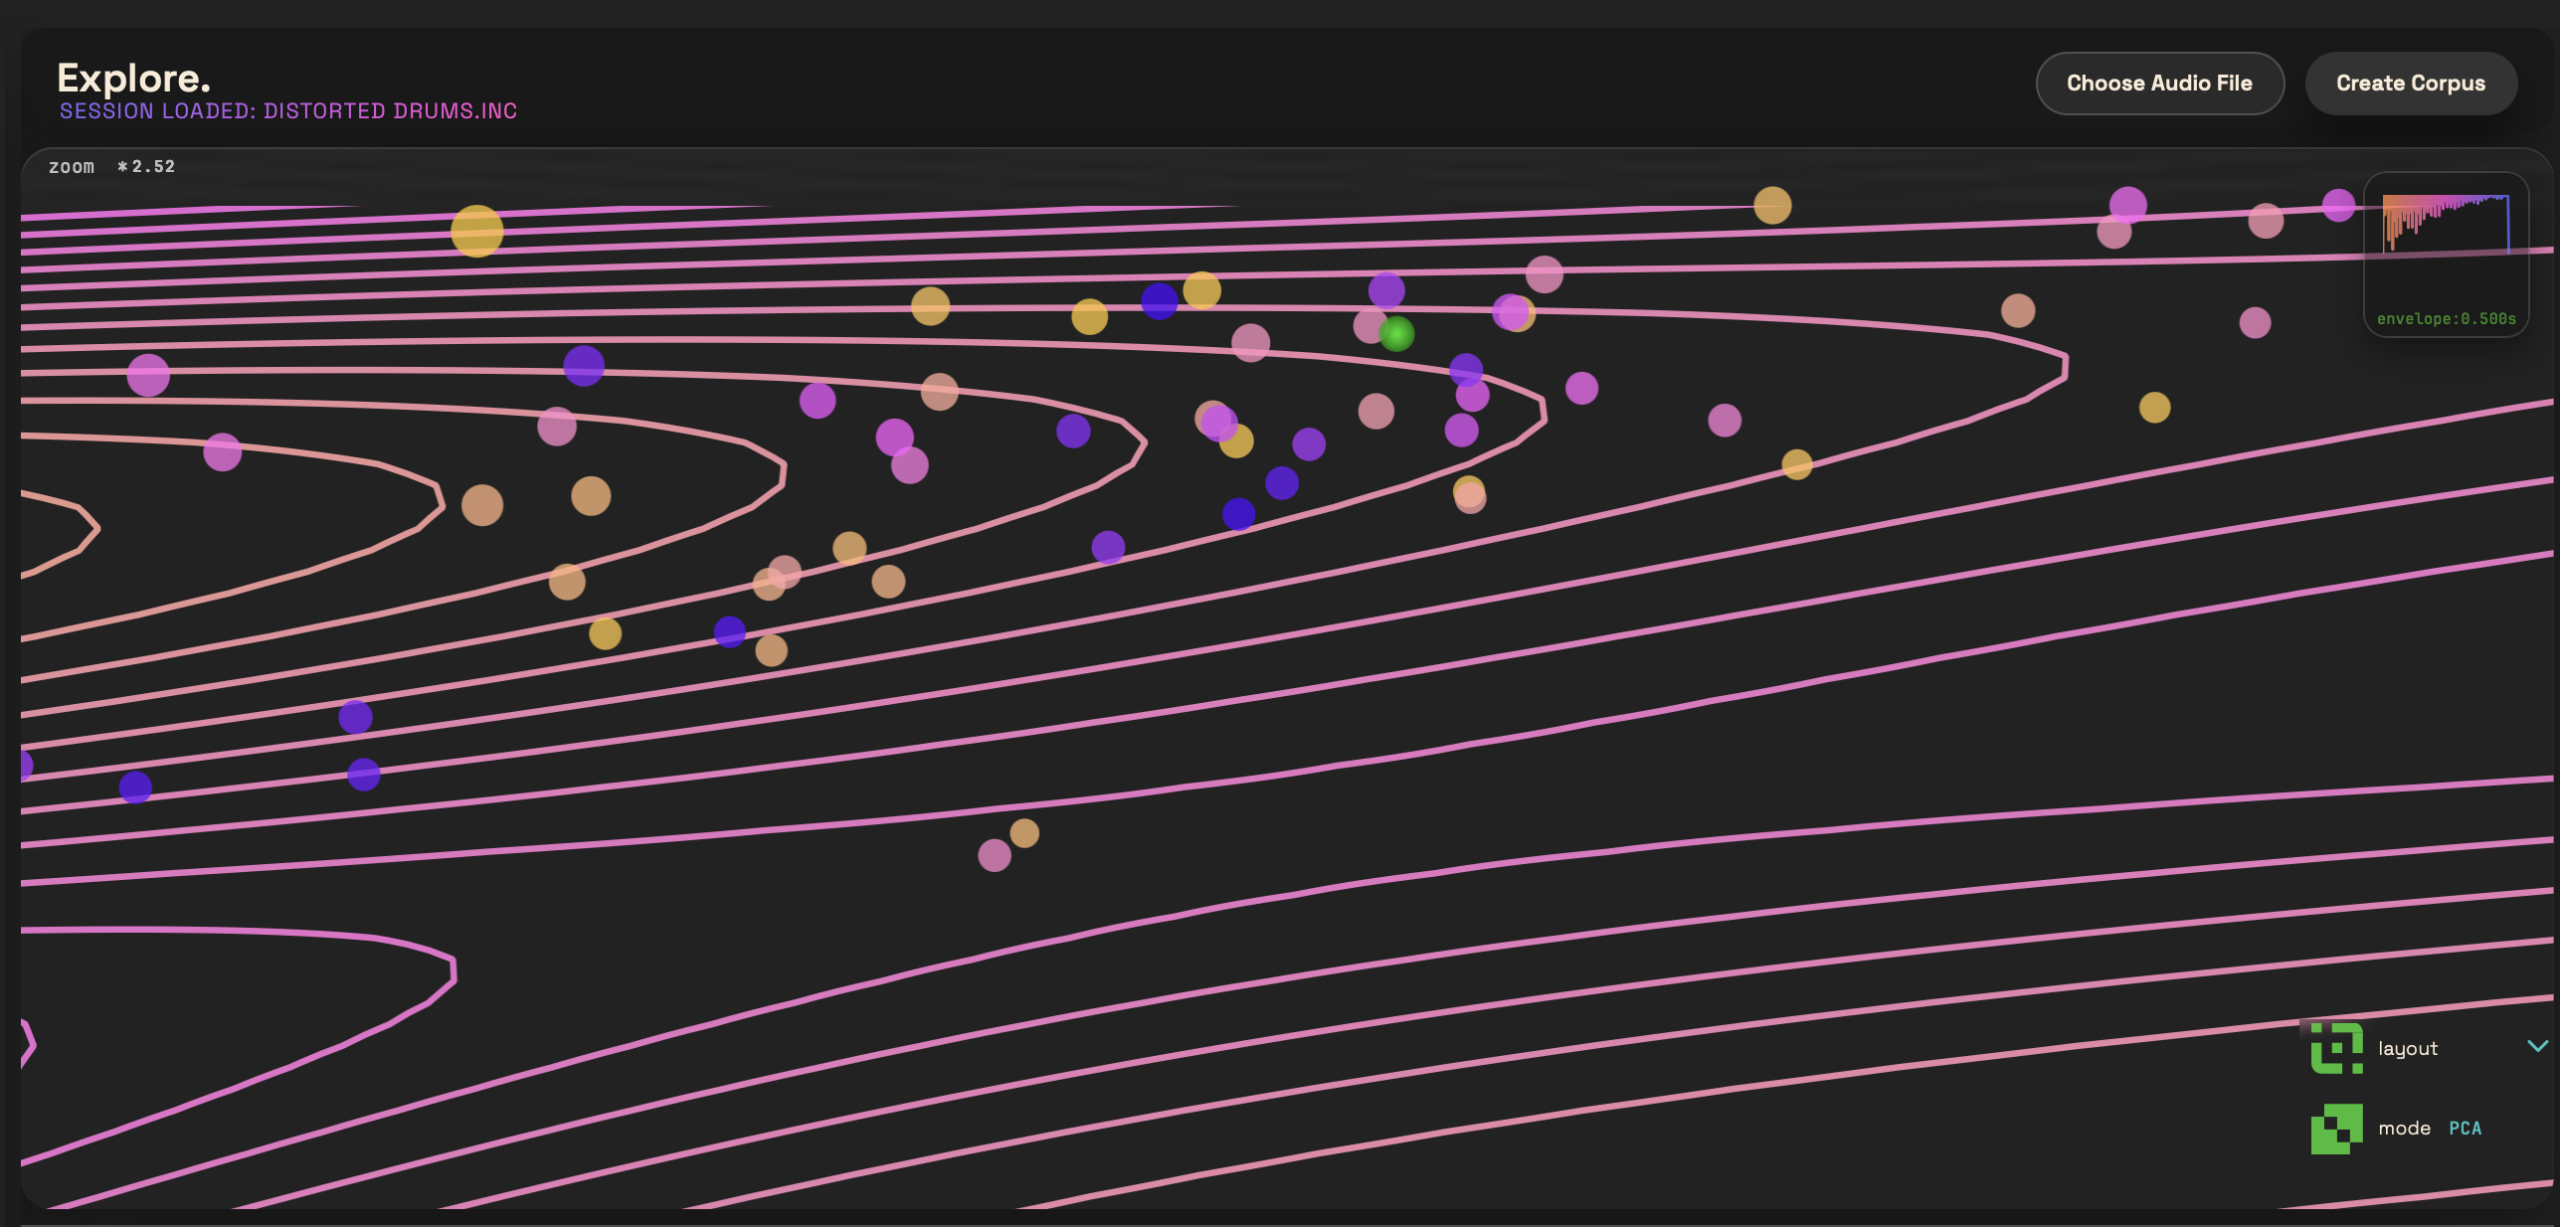
The starting point for any work in Incline is a brief pre-analysis—it typically takes just a few seconds. You’ll want to first choose an audio file, then Create Corpus.
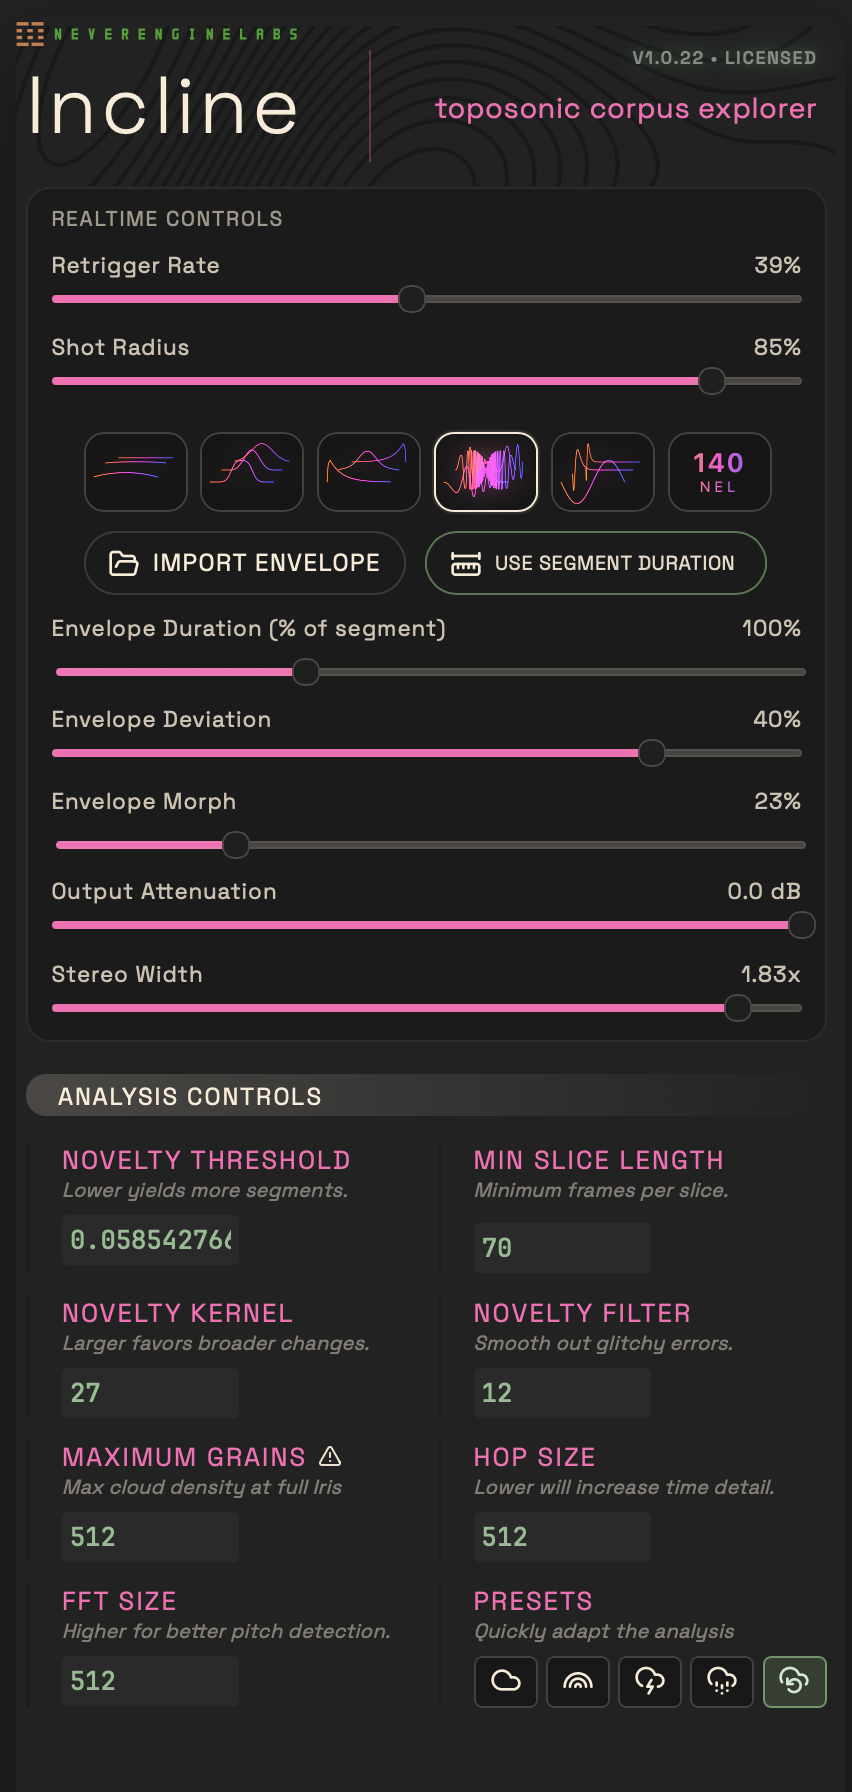
Segmentation is set with the Analysis Controls at the bottom left. Don’t be overwhelmed by those controls, though, as often you can get the results you need from the five presets — the graphical icons at the bottom right-hand side. “Balanced” is, as it sounds, a good starting place. But you can also choose Novelty (for arraying more variation in the sounds) or Transients (for emphasizing rhythmic aspects), or create more tiny fragments or tempo-estimated loops. That last one will increase the odds of generating grooves, but the other modes often work, too.
Any time you change parameters or choose a new preset, hit Create Corpus, and watch as a topographical map and points materialize. You can quickly re-map the sound by opting for another preset, or as you get brave, try adjusting values of the analysis directly. Just Create Corpus again to update the analysis.
There are a lot of controls to dig into, so here’s how I like to start exploring — your path may vary.
First, power up playback. I find it most useful to start with just forward playback / looping disabled.
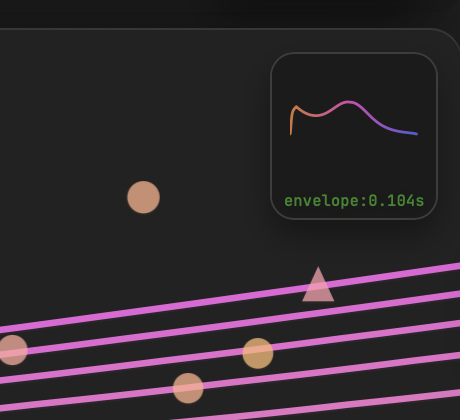
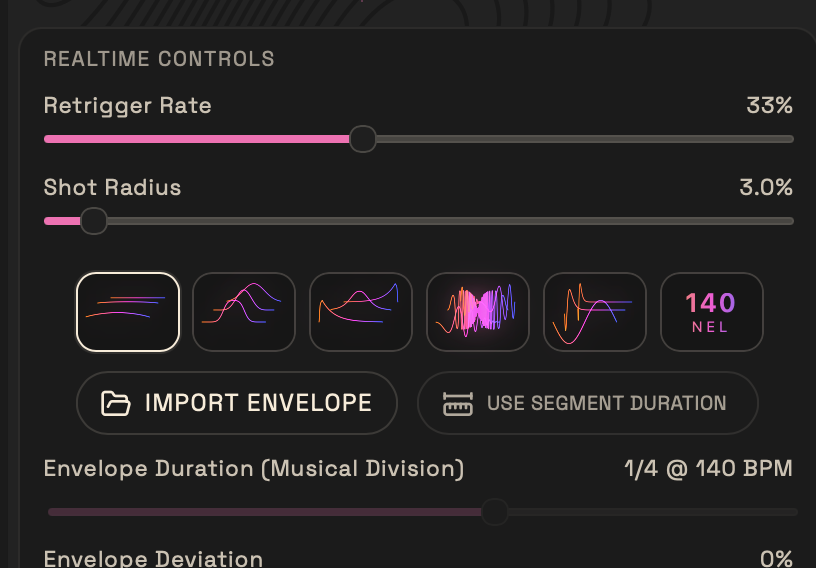
Click around the different dots to hear how the sound has been atomized into microsounds. The Shot Radius adjusts how close you have to be to one of those grains for it to sound — think of brush size in a painting tool.
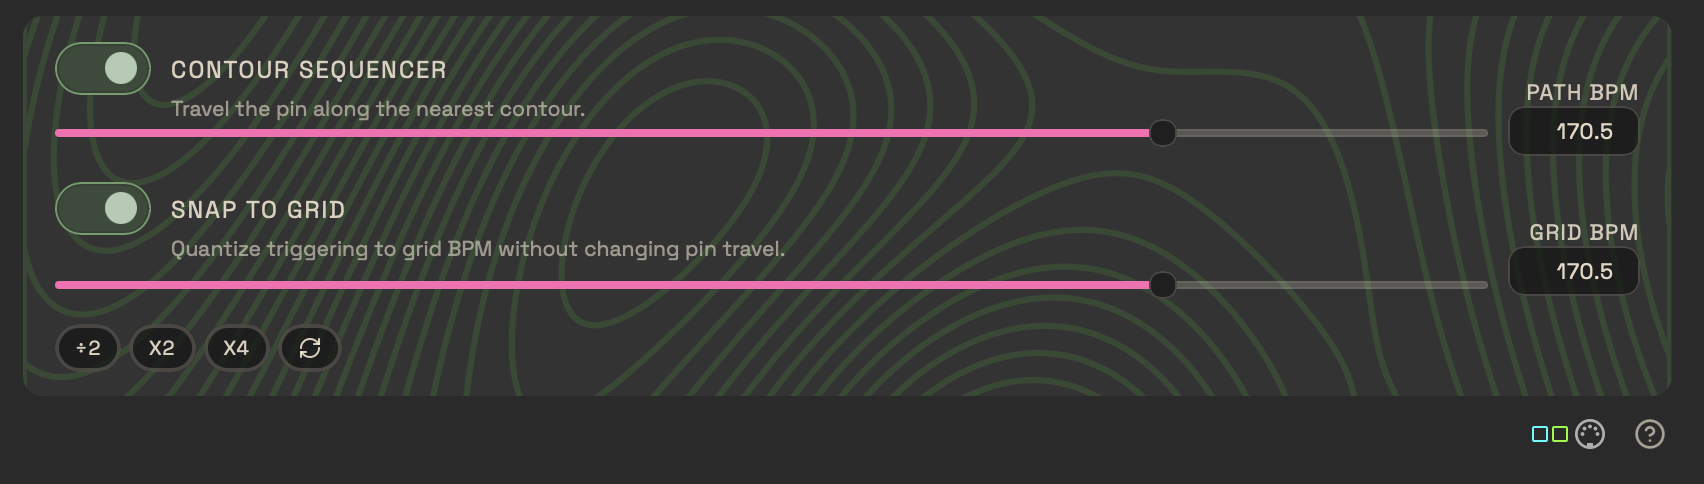
Turn on Contour Sequencer (and Snap to Grid), click topographical lines, and watch your green-lit puck (“pin”) move around.
Try turning Retrigger Rate up and down. (This is what might be termed density in synchronous granular synthesis.)
Don’t be worried if there are gaps in playback — that’s by design as you navigate the topography. (You’ll hear more or less silence depending on how these grains are arrayed across the screen and how you adjust playback modes.)
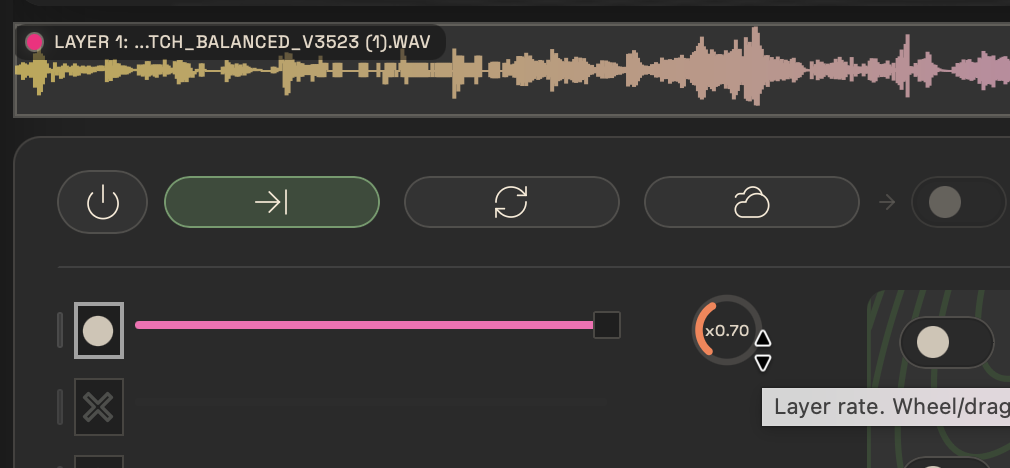
Try repitching with the rate control (in the Source Mixer section).
Add some envelopes. Factory A, for instance, gives you shorter, percussive sounds. Morphing or Index navigates through wavetable position — in Factory A, you’ll get reverse envelopes and swells as you morph through positions.

You can import wavetables, plus Cristián has also opened up his own kitchen with some 140 wavetables tucked into that last preset bank. These don’t continuously morph, so instead you shuffle through them with Envelope Index.
And there are some fantastic possibilities for rhythmic results, too. Here are some more percussive demos:
Strategies for developing ideas
Zoom, scroll, navigate! Move around the sound by clicking the map or the conventional waveform view.

Save postcards. When you’ve got a view you like, click POSTCARDS to save that as a preset. Navigate around, repeat, and you can jump back to any zoom/position.
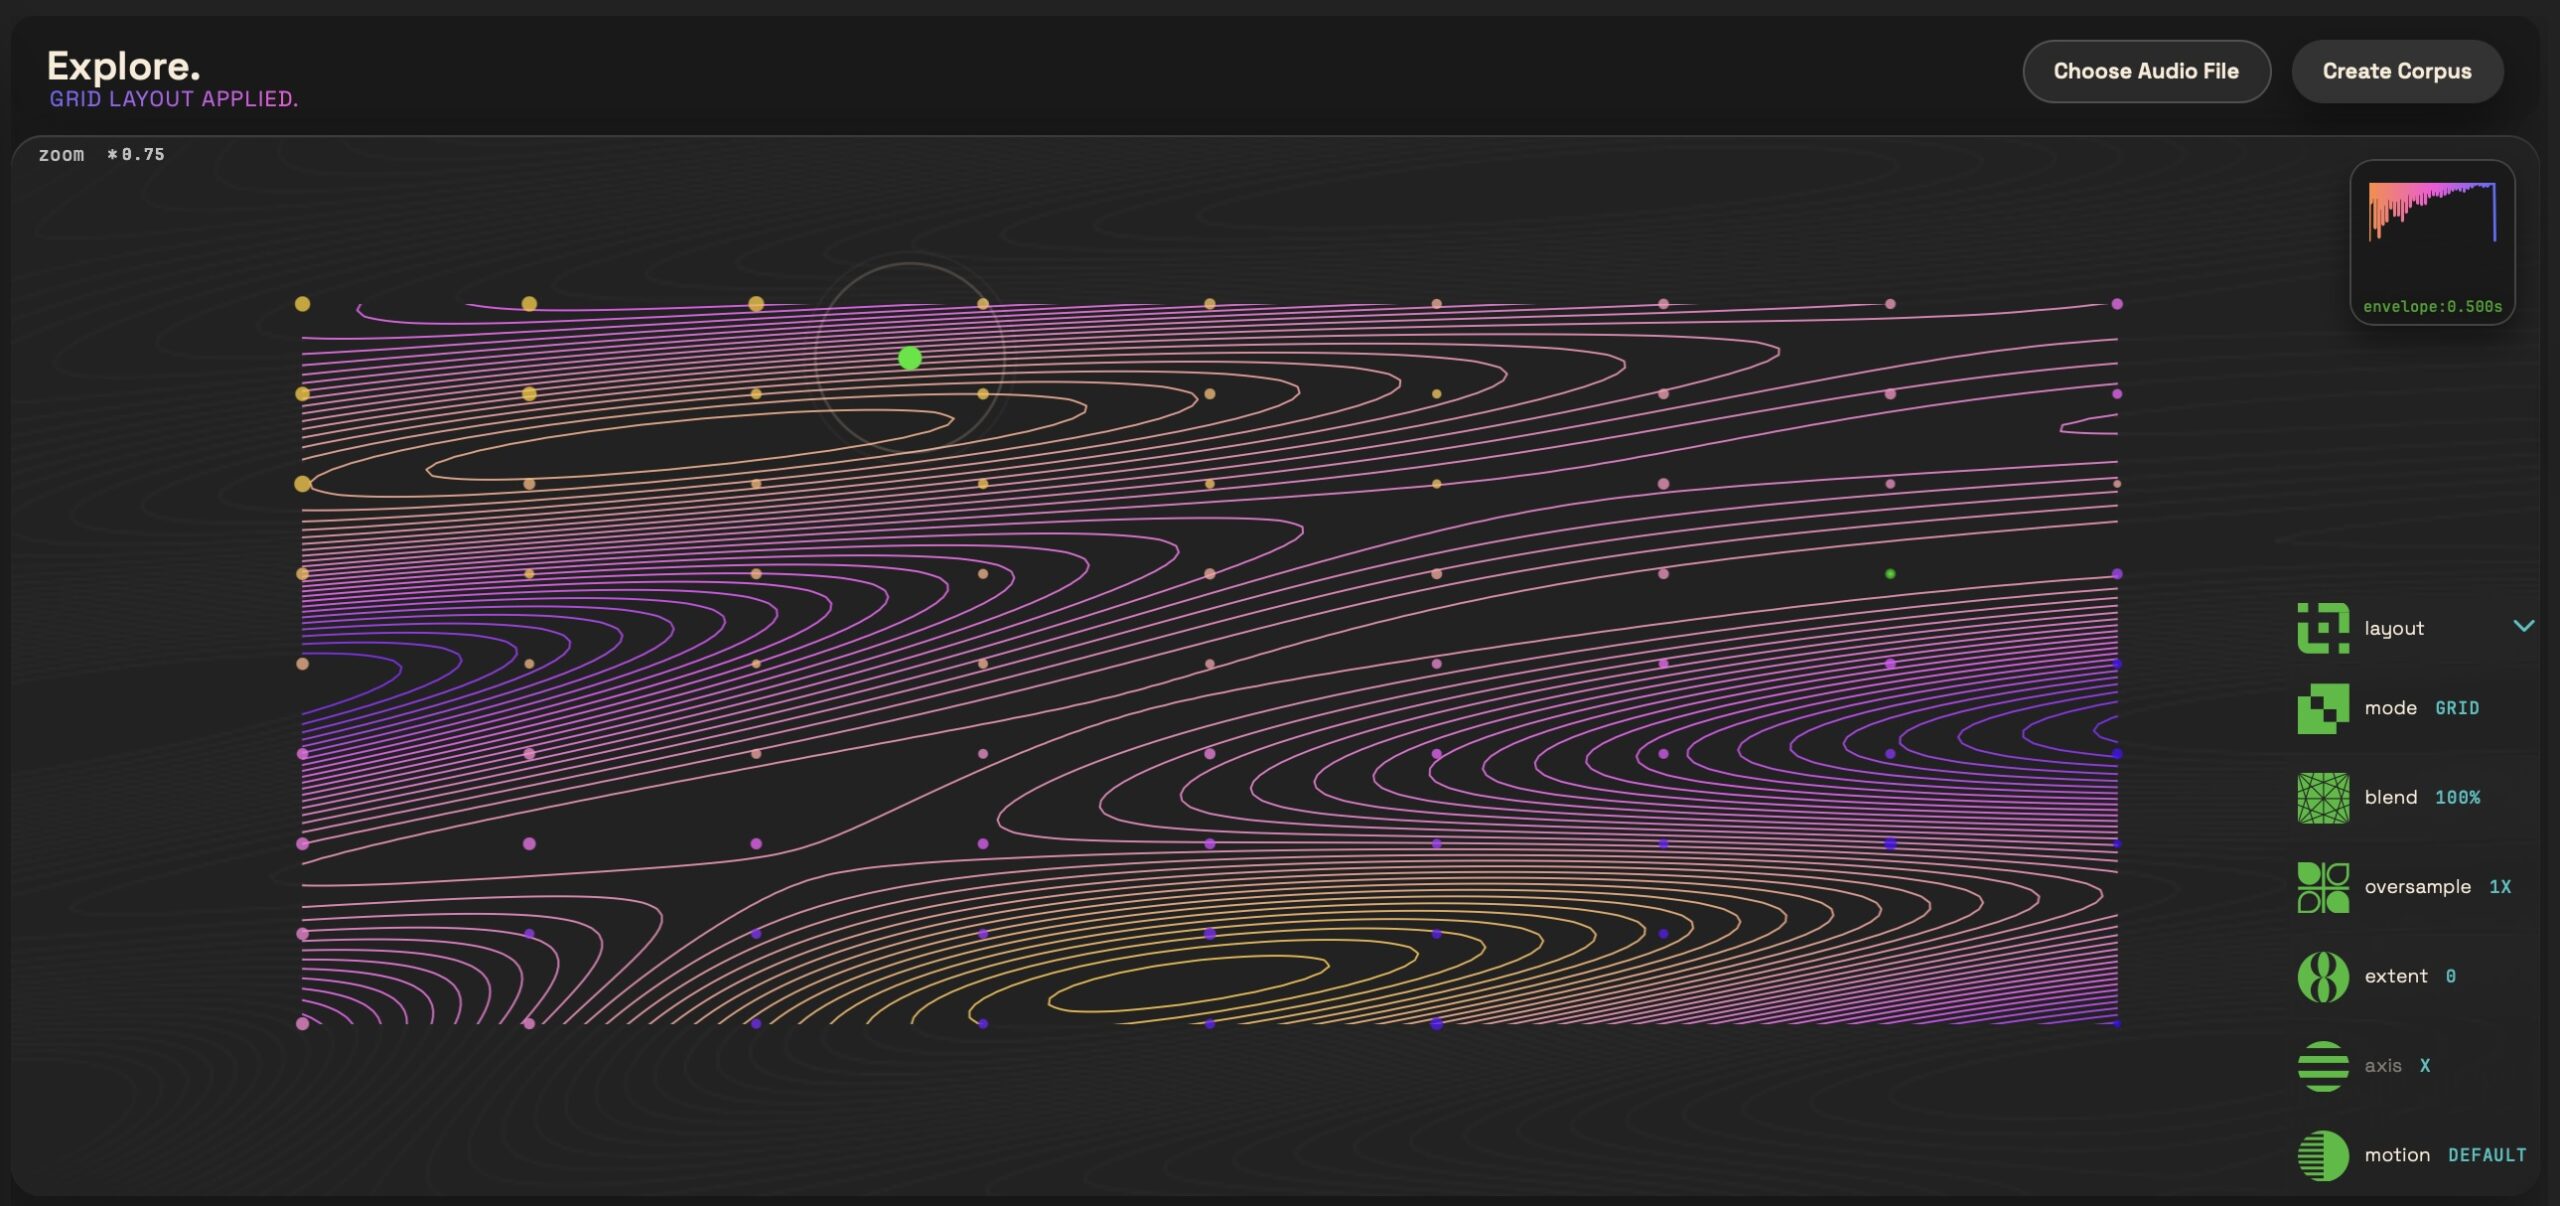
Adjust layout. Pop up the layout menu, and click each item to toggle through options. With the exception of Motion, all of these reorganize the dots and — honestly, just try them and see what happens! (Motion toggles between timing determined by the distance your playback pin needs to travel and a fixed bpm.)

Think visually! What you see is always what you hear, so changing the display changes all these other attributes of the sound. The contour sequencer won’t go beyond the boundaries of the visible viewport, so you can also use zoom to constrain your pin’s playback pathway.
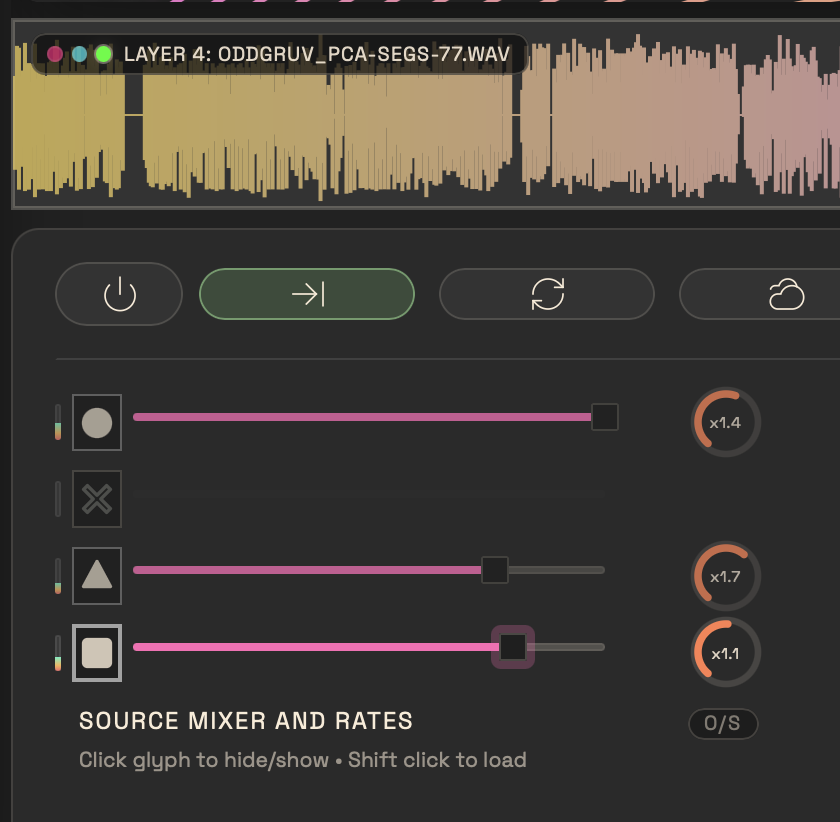
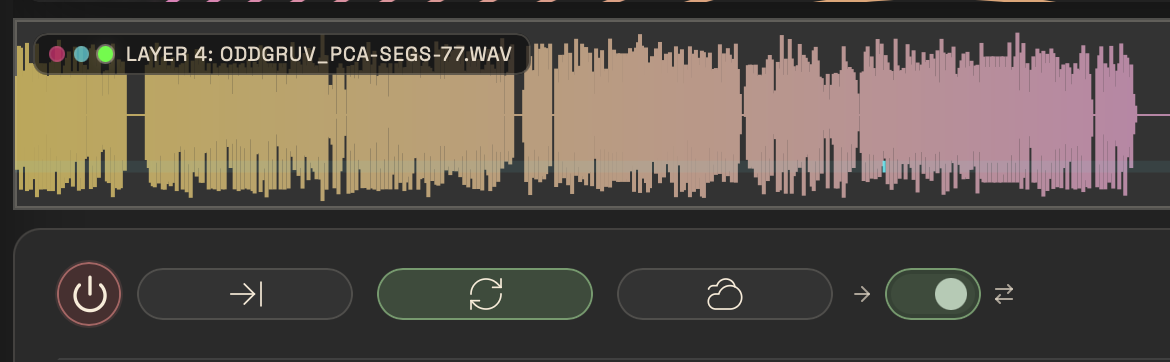
Add layers. You can add additional sound files by shift-clicking the layers in the SOURCE MIXER or repeating Choose Audio File. That allows you to build more complex compositions, though I’d suggest starting with just one layer as you’re getting used to the interface. (You can save, via File > Save. In case you want to start fresh, choose File > New and then Choose Audio File.)
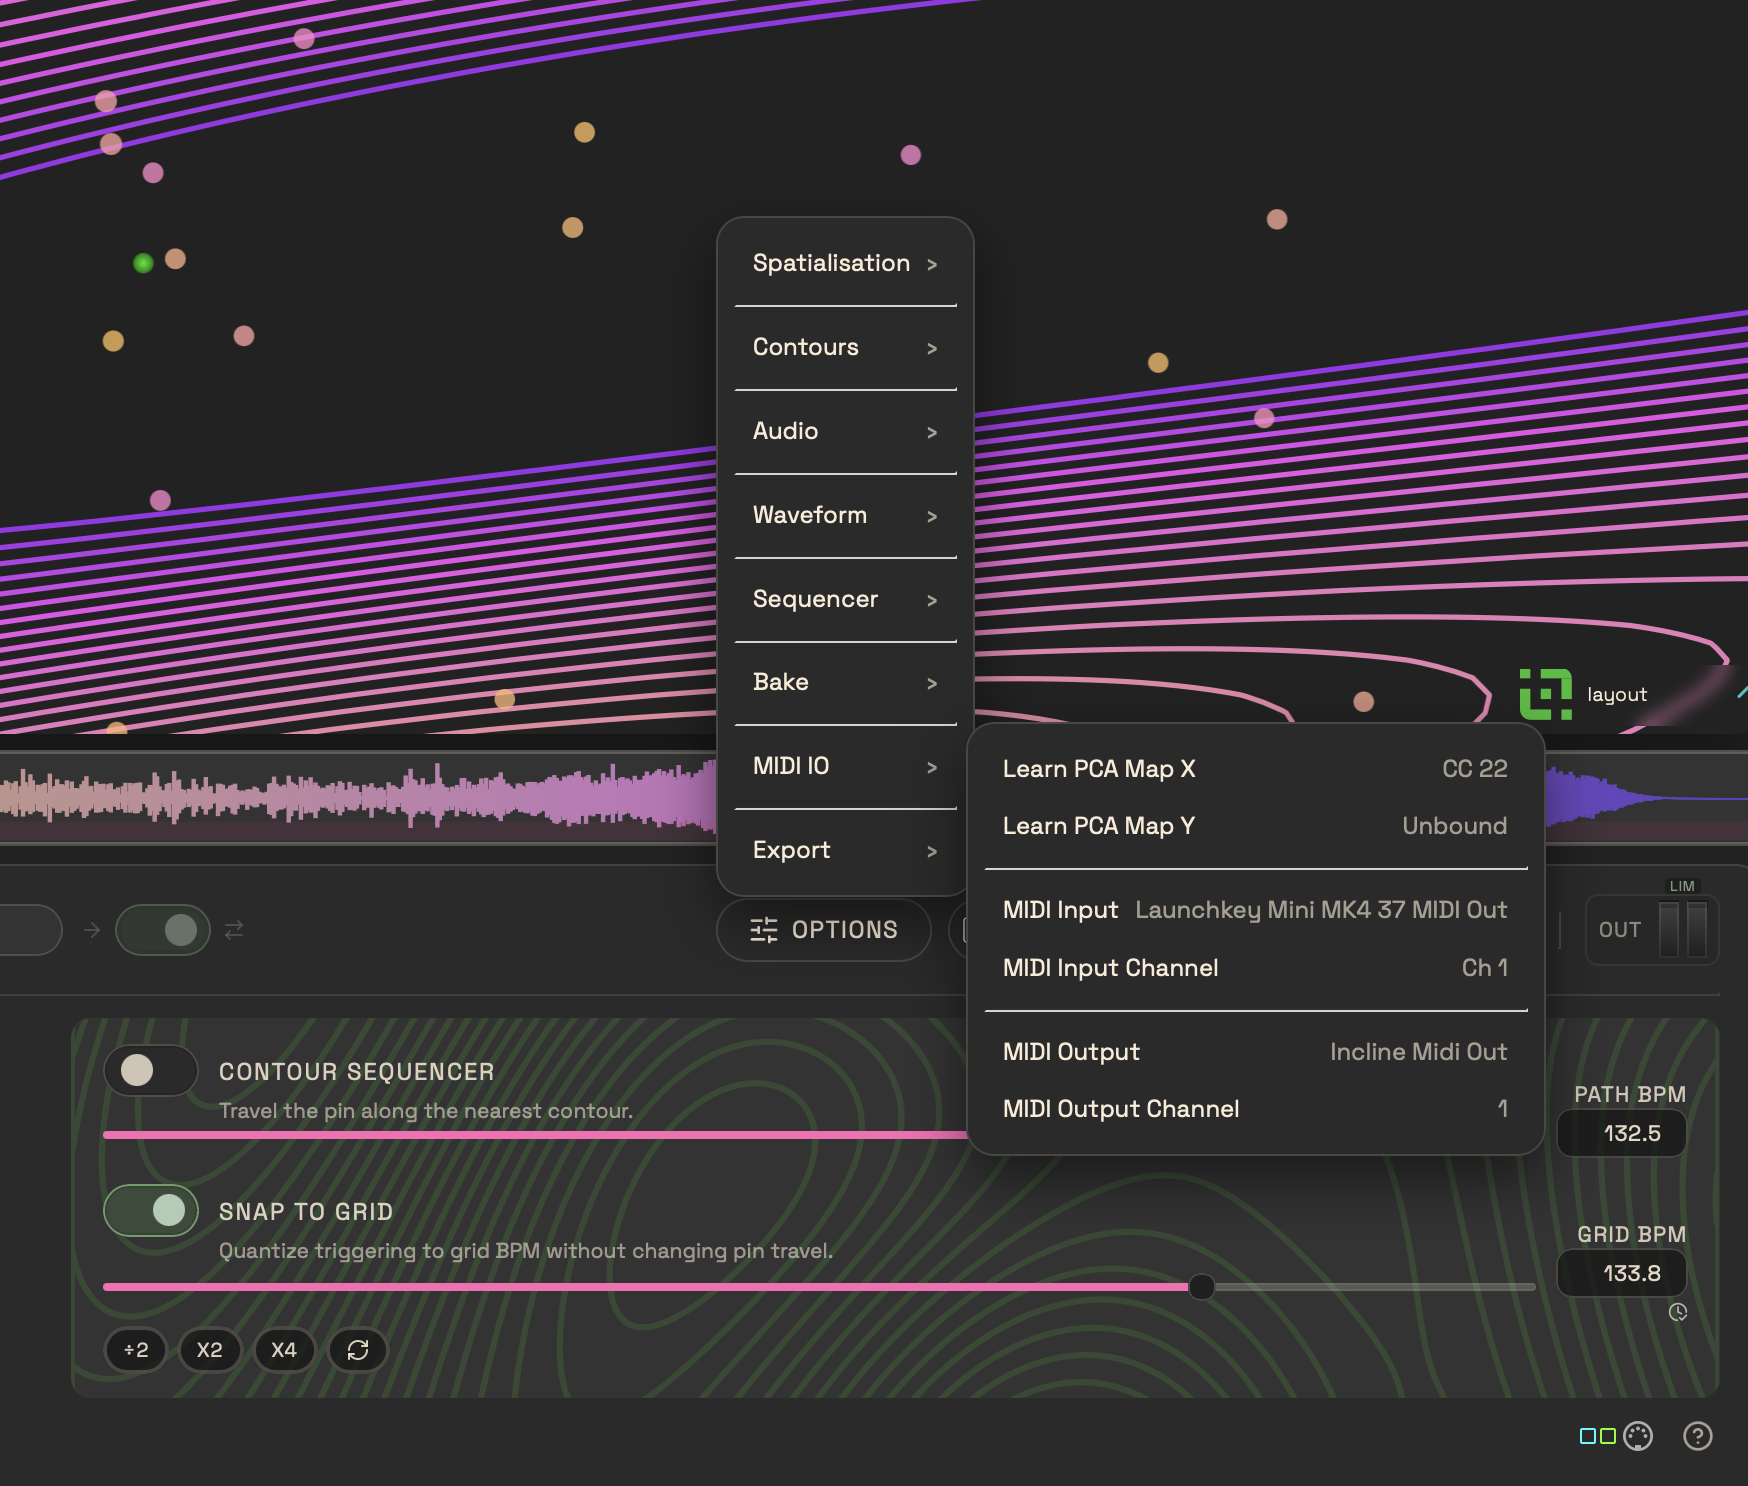
Add MIDI control. You can route in MIDI from other software (IAC MIDI on the Mac, a third-party tool on Windows), or any external device. You can map X and Y on their own to MIDI CCs, or use MIDI note inputs. MIDI note values are mapped across the sample. That way you can play the sound with a controller (not just the mouse), or even sequence it via external MIDI devices and software. Incline doesn’t run as a plug-in, but you can easily route audio back into a host.
Here with MIDI:
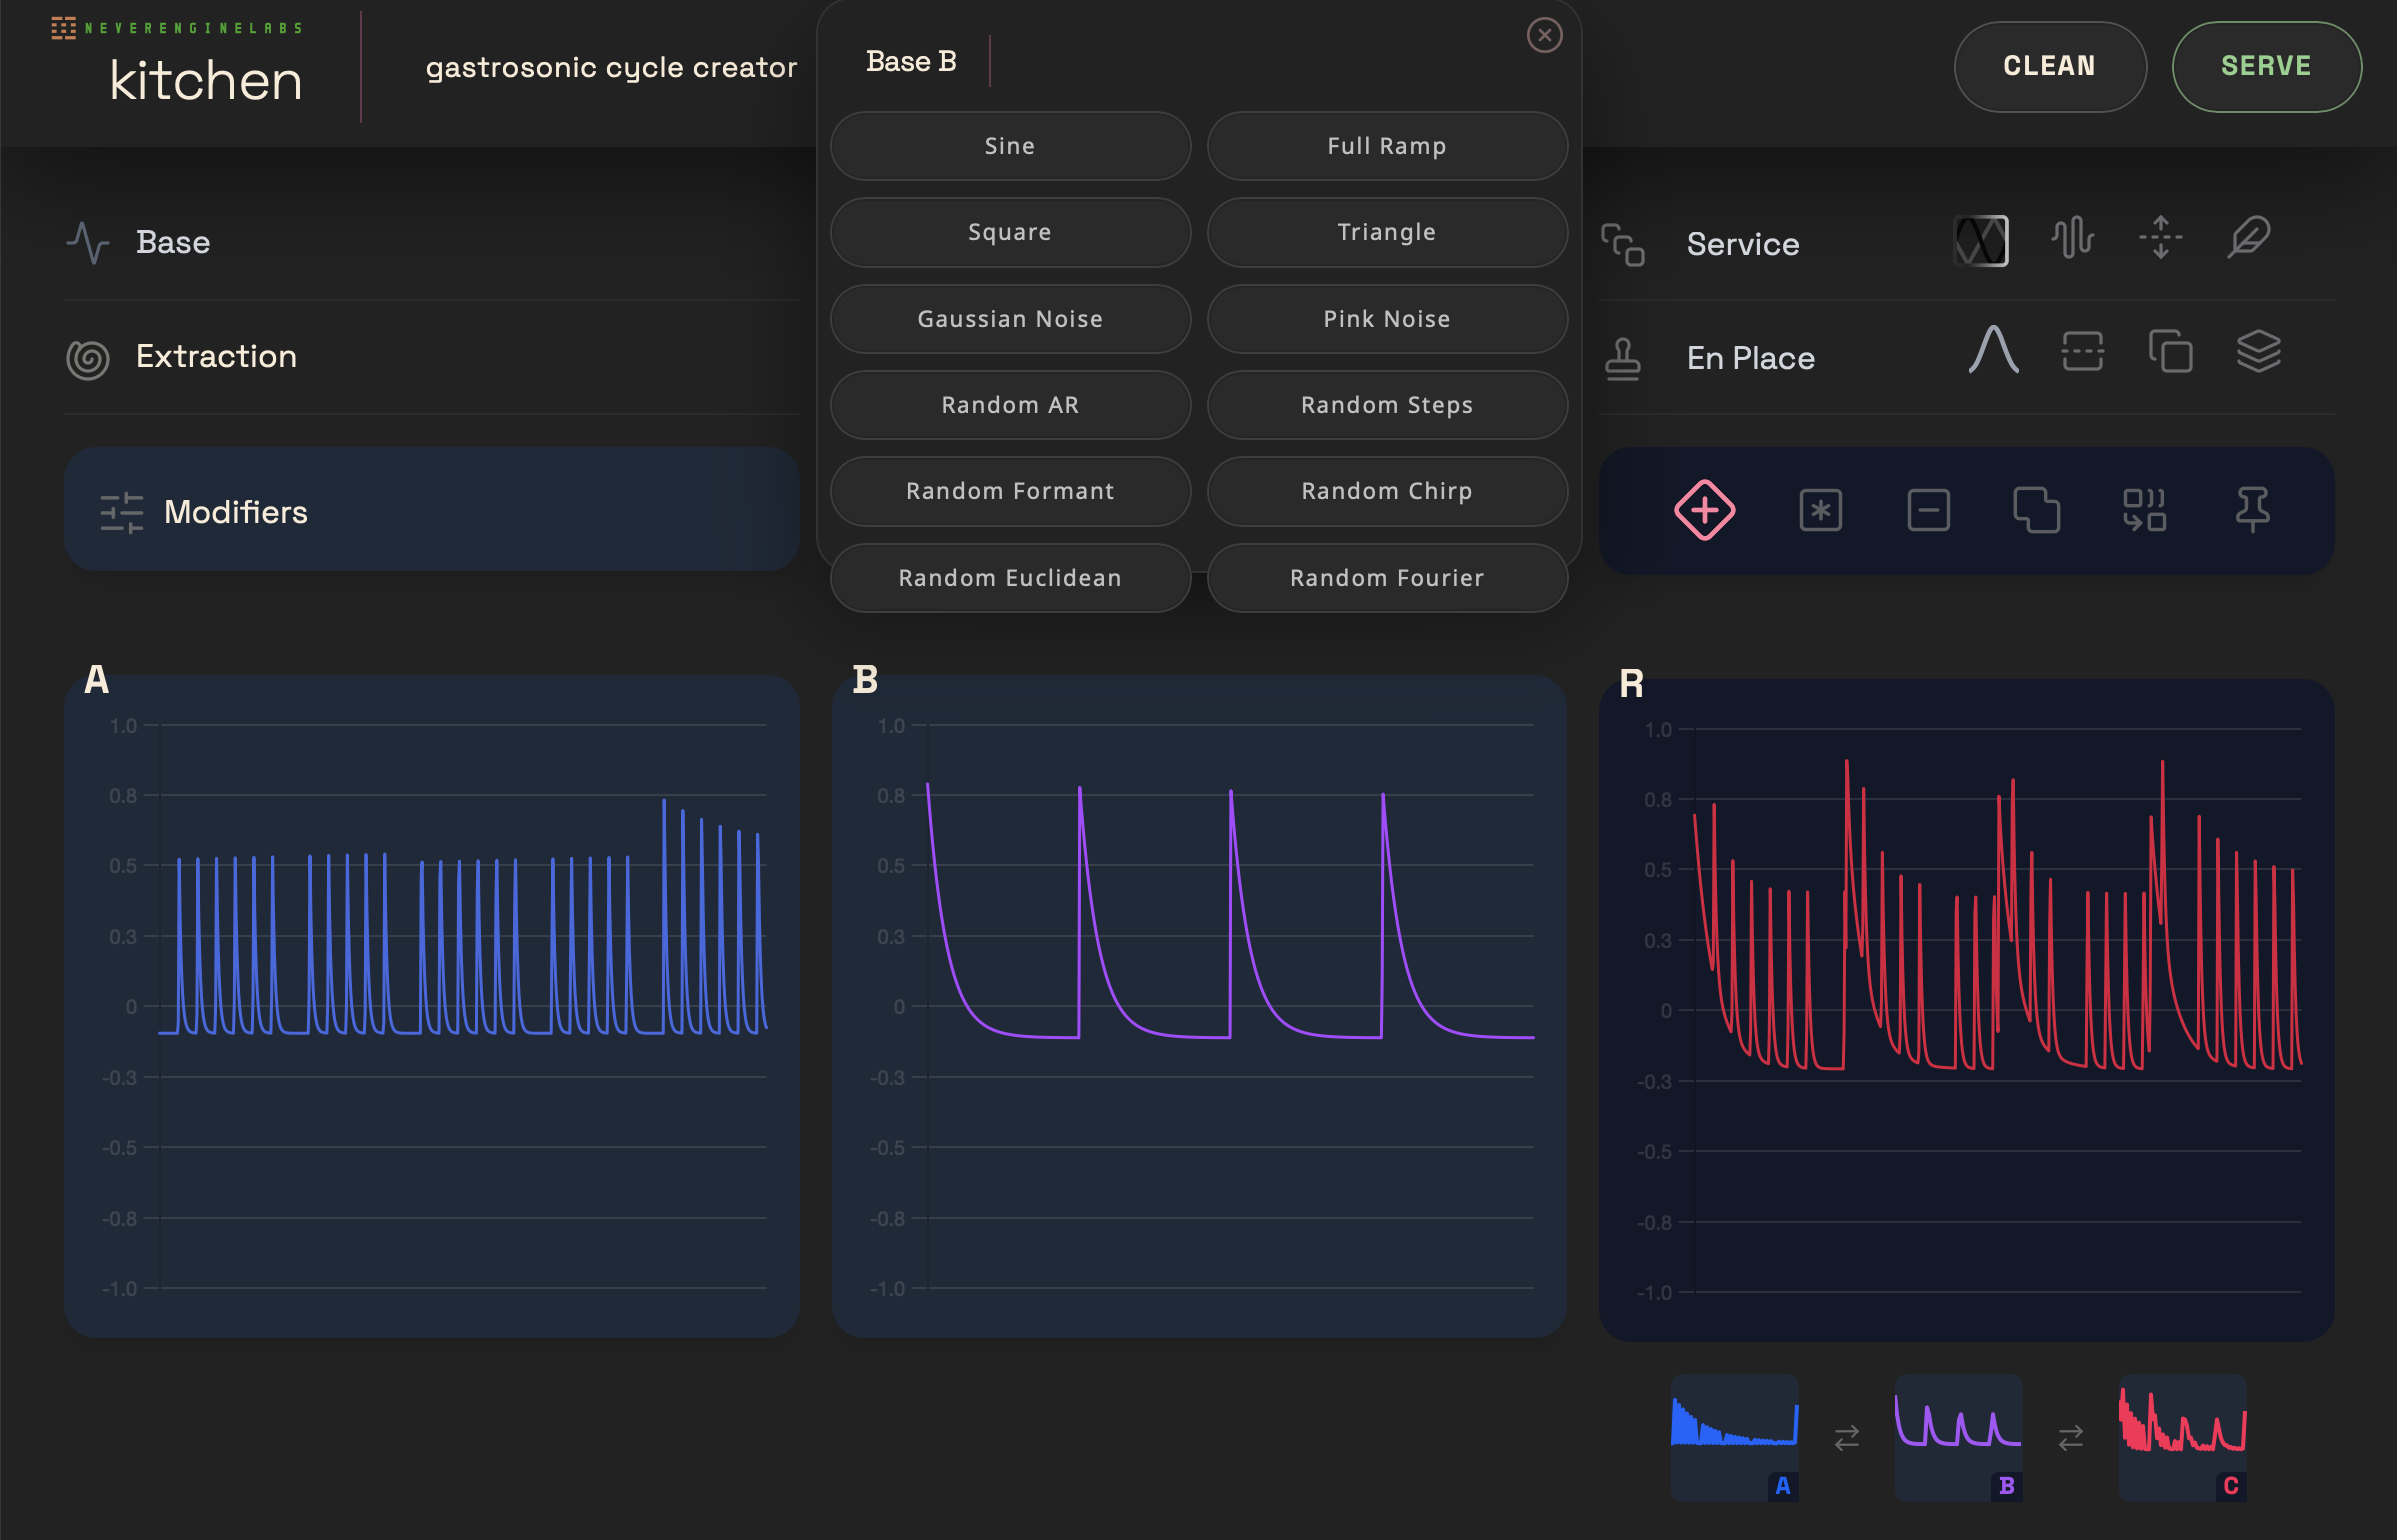
Cooking in NEL Wave Kitchen
NEL’s wavetable tool Wave Kitchen, available separately, becomes freshly indispensable with the debut of Incline. Wave Kitchen’s tools are great for producing wavetables for any synth, but they’re especially well-suited to pairing with Incline. You can use shapes like the Euclidean generator to create microrhythms inside envelopes in Incline, and other transforms to achieve unique and sometimes unexpected rhythmic and timbral results. That especially becomes true as you crank up Incline’s playback triggering and speed, as you’ll effectively transform the granular materials into oscillators, with the envelope shape modifying that sound.
Conclusions
I almost hesitate to call Incline “granular synthesis,” even though that’s a reasonable reference point. This is a way of slicing up and resynthesizing sounds that’s unlike anything I’ve used before. It feels like a fresh approach to producing sound. You get that same feeling of hearing time and spectrum in new ways — like the sensation you probably had the first time you heard granular synthesis or spectral effects or convolution.
But much as you can produce entirely unexpected brews with Incline, there’s also a tremendous amount of precision and intention possible, too. Add in the quantization and envelope tools, and you can slice and dice with razor-sharp control.
In the midst of completely experimental contexts, I found new grooves, too. This can be a techno tool, not just the kind of software that makes it sound, as one friend so lovingly put it, “like a cat walked across your synthesizer.” But either way, honestly, this sounds like the kind of software that will make cats happy.
And it’s a pleasure to get to use this kind of software, because you get not just a generic interface or approach, but Cristián’s particular compositional perspective and long-running sound experience.
Don’t miss his latest music, too. Techno, for me, always had a connection to experimental sounds, even though this is a different project, because when you finally reach the heart of things, so often that rhythm becomes unstoppable. So here, the liner notes tell us, “his studio work as NEL is a departure from his more experimental album and sound design compositions, and while these will continue, NEL tracks bear a closer resemblance to Cristiáns earlier production style, delivering tougher beats and rhythmic textures primarily using Modular synths in a hands-on, improvised live-to-tape process.”
Funny enough, though, I was using Incline for just that kind of improvisation and hands-on, even if sometimes just jamming with my mouse. Grooves, like sound design, all become meditation. And Incline is wonderful topography to explore.
At launch, only macOS is available, but a Windows build is coming soon. A 7-day trial is available.