Joshue Ott, media artist and designer and the visual developer of Thicket for iOS, joins us for a special guest post. First, he shows off the ability of the iPad 2 for full-blown, better-than 1080p HD output, at native 1920×1200. For developers, he also demonstrates how to get the same results.
Why does this matter? Tablets achieving desktop-like output means they could work as ultra-portable live visual performance instruments. If we can finally start to see HDMI mixers, a tablet could join a computer onstage as a visual instrument. And lastly, this kind of high-quality output means wonderful things for distribution, whether that means getting your digital art to a gallery or turning someone’s living room HD television into their own personal gallery. -PK
The video shows the iPad2 running Thicket v3 (currently beta testing: v2 is available in the app store now…) connecting to a computer monitor via HDMI at the monitor’s native 1920×1200 resolution.
http://apps.intervalstudios.com/thicket/
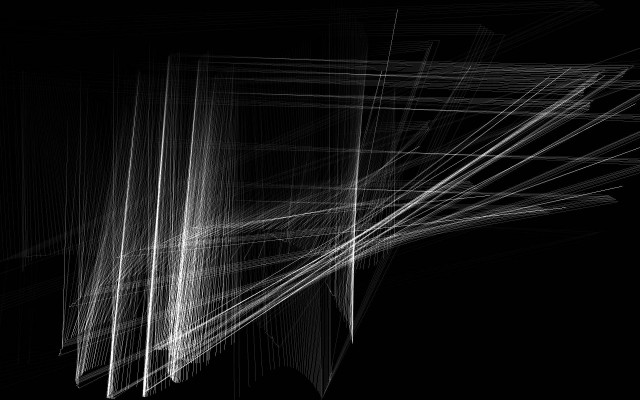
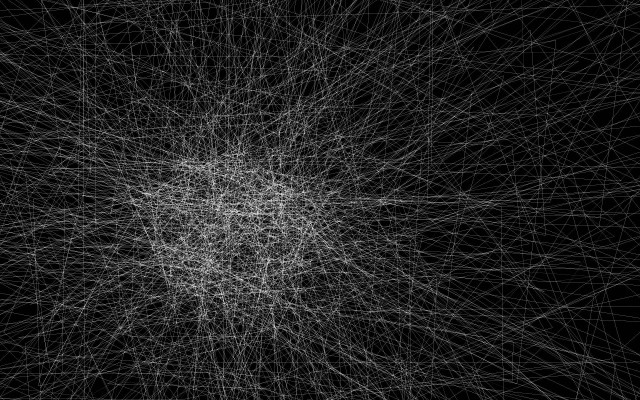
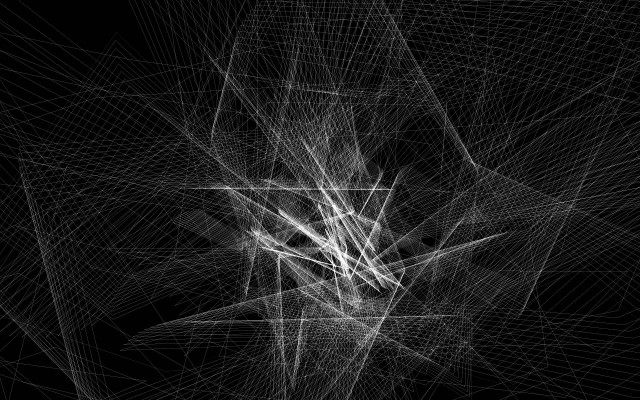
I used one of Thicket’s other new features, the screenshot button, to create the following 1920×1200 screenshots (click for full-sized versions):
iOS devices have supported video output for a while, but with the debut of the iPad2, Apple released an HDMI adapter that allows its latest devices (iPhone4, iPad, iPad2, and 4th gen iPod touch) to output HD digital video. Until the iPad2 came out, the maximum resolution available for output on iOS devices was 720P (1280×720).
The iPad2 has a newer graphics chip, and supports system-wide mirroring automatically. This was an oft-requested feature with the original VGA adapter: the monumentally-poor reviews on Apple’s own store are predominantly people complaining about the lack of mirroring on every application. While the VGA adapter really did work as advertised, mirroring was actually fairly difficult for developers to implement. For Thicket, I created a custom OpenGL render-to-texture system to get it working.
Mirroring with iPad2 now involves absolutely NO requirement from developers to support: it just works. Unfortunately, it only just works at the iPad’s native resolution, 1024×768. (Actually, the iPad2 is setting the display to its maximum resolution, but then showing a stretched 1024×768 image).
The iPad2 is capable of quite a bit more. If you’re a developer and want to support higher resolutions than iPad’s native 1024×768, this is how it works. The newest version of Thicket uses similar code to support resolutions up to 1920×1200 at a buttery-smooth 60 FPS.
Apple actually has fairly good documentation of the screen connection process here, but we’ll go just a wee bit deeper.
Here’s the overview of what happens in the code:
- Register your program to listen for UIScreenDidConnect/Disconnect notifications.
- Make a method that is called on connect, look at the available modes and set the external display to your desired mode.
- Move your main view to the new external UIScreen, and put some other view in the main screen (controls or a logo).
All of this code goes in the application delegate. It’s useful to have it there: because of the reference, the delegate usually holds to the main window.
Register to listen for the UIScreens connect message:
[sourcecode language=”objc”]if ([UIScreen instancesRespondToSelector:@selector(availableModes)]){
// register for connect and disconnect methods:
if ([UIScreen instancesRespondToSelector:@selector(availableModes)]){
// register for connect and disconnect methods:
[[NSNotificationCenter defaultCenter] addObserver:self
selector:@selector(screenInfoNotificationReceieved:)
name:UIScreenDidConnectNotification
object:nil];
[[NSNotificationCenter defaultCenter] addObserver:self
selector:@selector(screenInfoNotificationReceieved:)
name:UIScreenDidDisconnectNotification
object:nil];
if([[UIScreen screens] count]>1){
// if screens count is already greater than 1, call our notification method now:
[self screenInfoNotificationReceieved:nil];
}
}[/sourcecode]
In our “screenInfoNotificationReceieved” method, we’ll decide how to proceed, based on how many screens the system is currently aware of:
[sourcecode language=”objc”]- (void)screenInfoNotificationReceieved:(UIScreen*)screen{
NSArray *screens = [UIScreen screens];
if([screens count]==1){
// there’s only one screen, so move the view back to the main screen if necessary
[self destroyExternalDisplay];
return;
}else if ([screens count]>1){
// set up the external display
[self setupExternalDisplay];
}
}[/sourcecode]
Our “setupExternalDisplay” method does the real setup here. It finds the external display, then loops through available modes on that display, choosing the mode with highest resolution. Finally, move the main view to that new display, and put some kind of interface or other stuff on the device’s screen. EDIT: we really should make externalWindow an instance variable instead of declaring it locally, and it should be released in the destroyExternalDisplay (thanks to Marcin Ignac for pointing this out in the comments)
[sourcecode language=”objc”]-(void)setupExternalDisplay{
NSLog(@"setup external display");
if([[UIScreen screens]count]>1){
UIScreen *externalScreen;
// look through all the external screens:
for (int i=1;i<[[UIScreen screens] count]; i++) {
externalScreen = [[UIScreen screens] objectAtIndex:i];
// break out of the loop at the first valid external screen we find:
if(externalScreen!=nil) break;
}
if(externalScreen!=nil){
UIScreenMode *targetMode;
int modeSize =0;
for(UIScreenMode *mode in [externalScreen availableModes]){
// find the highest res target mode:
if (mode.size.width*mode.size.height>modeSize) {
targetMode = mode;
modeSize = mode.size.width*mode.size.height;
}
}
// set the external screen’s mode to targetMode;
externalScreen.currentMode = targetMode;
NSLog(@"setting external screen to %f x %f", targetMode.size.width,targetMode.size.height);
// create a window for the external screen: (this should really be an instance variable rather than local!)
UIWindow *externalWindow = [[UIWindow alloc]initWithFrame:[externalScreen bounds]];
// set the window’s screen property to the external screen
externalWindow.screen = externalScreen;
// move our main view to the external screen and set the view’s frame to that screen’s dimensions
[externalWindow addSubview:self.viewController.view];
self.viewController.view.frame = CGRectMake(0,0, [externalScreen applicationFrame].size.width, [externalScreen applicationFrame].size.height);
externalWindow.hidden = false;
// NOW populate the main window with whatever controls or interface elements we want
}
}
};[/sourcecode]
Lastly, we’ll need to clean up everything if the external display is disconnected. (That 30 pin connector is actually quite flimsy and doesn’t lock. It can pop out fairly easily- especially when you have a big thick cable pulling on it.)
[sourcecode language=”objc”] -(void)destroyExternalDisplay{
NSLog(@"destroy external display");
// move this controller’s view back to the main screen and set its frame to the original dimensions:
[self.window addSubview:self.viewController.view];
self.viewController.view.frame = CGRectMake(0,0, [[UIScreen mainScreen] applicationFrame].size.width, [[UIScreen mainScreen] applicationFrame].size.height);
// remove any retained controls or interface elements that were in the external display
};[/sourcecode]
This setup, paired with the quite decent graphics chip in the iPad2 is great news for visualists, as it’s possible to make an interface that only appears on the iPad, while the external display shows your content. Even if you don’t need ultra high resolution, this method is still useful (just set your external display to a more modest resolution when it connects). While the iPad is still not the equivalent of a monster computer rig, it can output some pretty impressive visuals, and with its rather awesome super-responsive multitouch screen it is arguably capable of some types of expression that are difficult with older controllers. I used this version of Thicket recently to make visuals at a performance (I’ve never really used Thicket in this capacity before), and was impressed at how much I could get out of it. I’m excited to do more, and to see what others can come up with using these techniques!
Ed.: Users, performers, developers – we’d love your feedback. Let us know how this works for you, what you think of this rig, and what sorts of tutorials you might like in the future.
Next up: how to do video output on Android tablets, too, in the interest of cross-platform. (Now, if we had that HDMI mixer, we could mix an iPad running OpenFrameworks and a XOOM running Processing….) -PK


