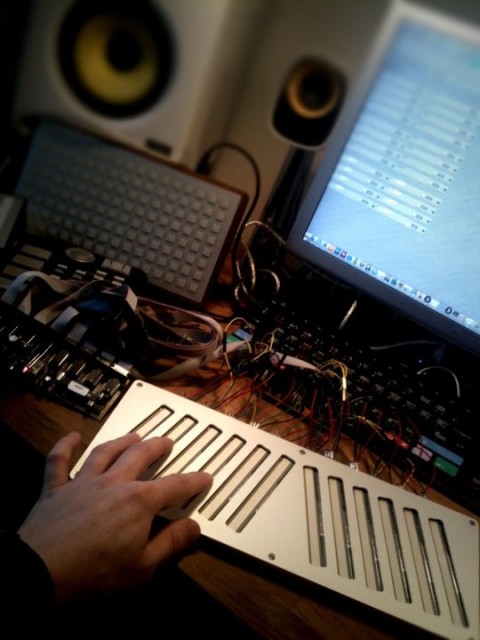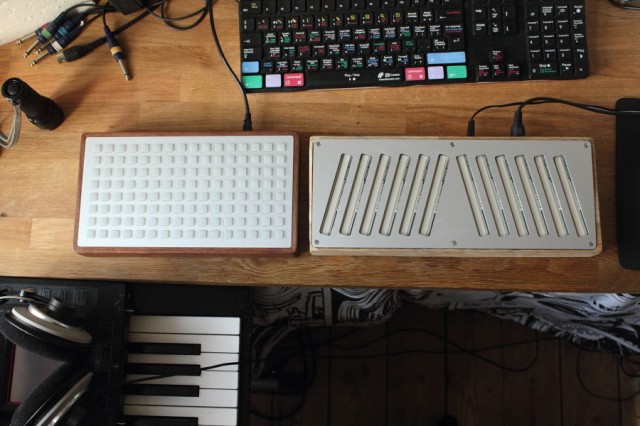
Keyboards have worked for centuries, but they restrict continuous expression and pitch. Touch is more flexible, but most readily-available touch controllers (like the iPad) lack pressure sensitivity. That leaves ribbon controllers. When do you don’t have quite what you want, you make your own.
Just ask Rasmus Nyåker of the Copenhagen Noise Lab. Rasmus writes us with copious details of his project, which he built just to get more enjoyment out of playing. It uses multiple ribbon controllers, aligned for easy access from the hands, with pressure sensitivity. He tells us how he built it and why. And if you want to build your own, he even shares parts sources.
(Side note: anyone remember M-Audio’s, nee Midiman, aborted Surface One?)
CDM exclusive: Demo of a DIY-midi-controller from Rasmus Nyåker on Vimeo.
I am pretty bored with keyboard-based synthesizers when it comes to my personal music. I find it uninspiring to use for synthesizer interaction. Been reading a lot lately about the ideas [synth pioneer Don] Buchla had in the 60s and 70s and arbitrary surfaces give me a thrill. Each sensor can control whatever I want. On my Snyderphonics Manta I am almost there – I don’t need ADSR [envelopes] as each key sends data depending on my movement that can control, for example, VCA [amplitude] or filter or both. I can use the same setup to slowly evolve and fade in chords while playing a fast melody with sharp transients and octave up using the same patch and at the same time. The sound creation moves from the machines onto my fingertips.
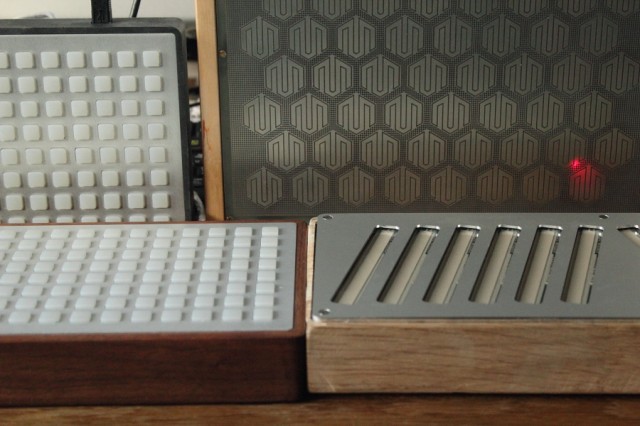
The Manta only supplies me with one continious controller per finger/zone/hexagon. It’s much like any polyphonic aftertouch keyboard in that way (I have a Roland A80 which is a marvellous controller as a keyboard). The Manta has two great things going for it, though: it is much more compact and I can route a separate CC-number from each of its hexagons. [Video examples of Rasmus playing the lovely Manta below.]
I am also a proud owner of two monomes [YouTube video of him playing these, too] — a walnut 128 and a GS64. Both are really splendid controllers for percision stuff like sequencing, arpeggiating, loop-control and stuff. It is a great way of getting to control multiple things at once that are buried in a computer-screen interface and the visual feedback is great. There’s a great community, too. It is, however, binary in its control: either you push a button or you don’t. In this sense, the Manta feels a lot more like an instrument.
The problem with both of these controllers is that they require a computer. I hate bringing a computer onstage, even if it is hidden underneath a table (My Nord Modular G2 is great, with multiple midi-CCs, and is usually my weapon of choice.) On top of that, I want to control more stuff with each of my fingers. So what do I do? Well, let’s build one.
I would like to add that the last musical device I built was an external filter I built on veroboard in 1994 when I was 14…
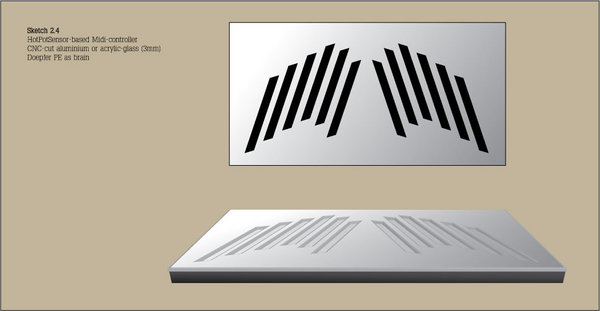
I researched on the Internet and found that the SpectraSymbol Softpot or Hotpot-positional sensors (ribbon-controllers) would be perfect for me. That’s one controller per finger. I also wanted something to sense pressure and found Force Sensing Resistors (FSRs) from Interlink Electronics that were 20″ long, but almost as wide as the ribbons and constructed so they can be cut down to size. I also needed something to convert the interaction with these to MIDI data. I found a good [MIDI data encoder] from Highly Liquid called MIDI-cpu. However, for the number of controls I wanted, I would need to daisy-chain two, so I looked around a bit more. Finally I decided on a Doepfer USB64, which works “off-the-shelf” and wouldn’t need much customization. I did a few sketches of the controller I had in mind in [Adobe] Illustrator.
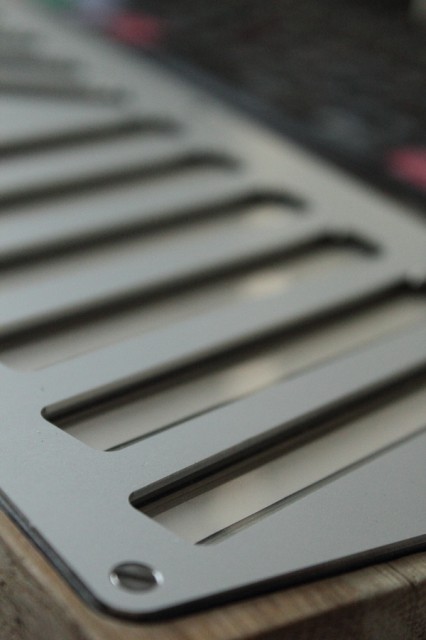
I decided on using 4 inch / 10 cm hotpots for the device, as that would give enough length to play with while still being able to touch each end of the strips at the same time. Finally, I ordered all the sensors including FSRs from Sparkfun and a USB64 from Thomann.de. With the free application Front Panel Express from Schaeffer I designed the front panel and ordered it directly within the application. I made the design as a three layer sandwich each using a 1.5 mm-thick sheet of anodized aluminium. I made the top-layer with cutouts for just the sensing area of the sensors, and counter-sunk for M3 screw-heads. The middle layer has bigger cutouts, leaving room for the full sensors. And the bottom layer has holes for the sensor-connectors.
As expected, the electronics got here before the panels. So I breadboarded one of each sensor-type to the USB64 and checked that it worked.
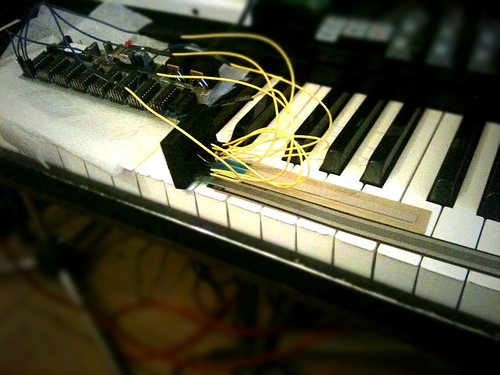
I continued by soldering the cable onto the sensors, making a veroboard for distibuting power, ground, and connecting lots of resistors. And then I decided to hook up a setup of four strips (4 hotpots and 4 FSRs) taped onto a tabletop — mainly for trying it out before I got the front-panels.
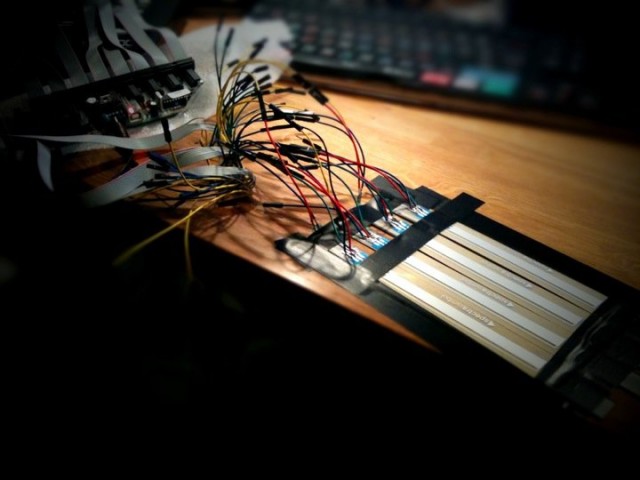
After a few days of waiting, a guy from UPS showed up with a big package for me. I started immediately to mount everything, and hooked it up to the USB64.
I checked the results with the MIDI input from the Nord Modular G2 and saw that I had some fluctuating data from the hotpots. So I decided to drop the ground on them, and instead let the signal output run to ground too, but via a 10K ohm resistor. That gave me only half the CC-range, but cleared the fluctuations; having a big jump in data when touching the sensors gave me ability to make programs in the G2 for which touch can act like note on/off, and initial pressure sets velocity level. Now I can theoretically get note on/off, velocity, pressure and position Control Changes from each of the twelve sensor-strips.
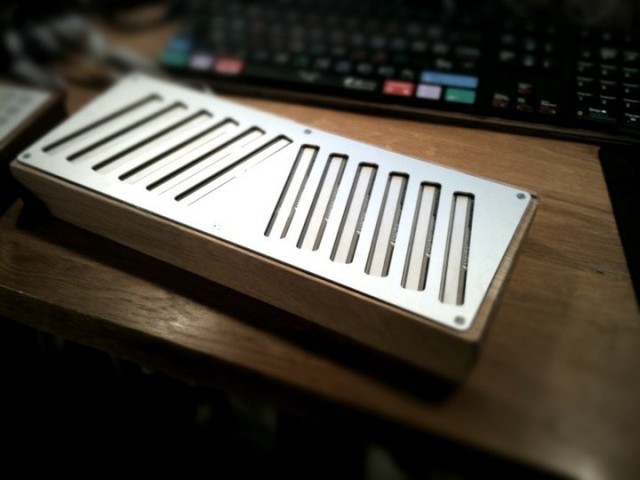
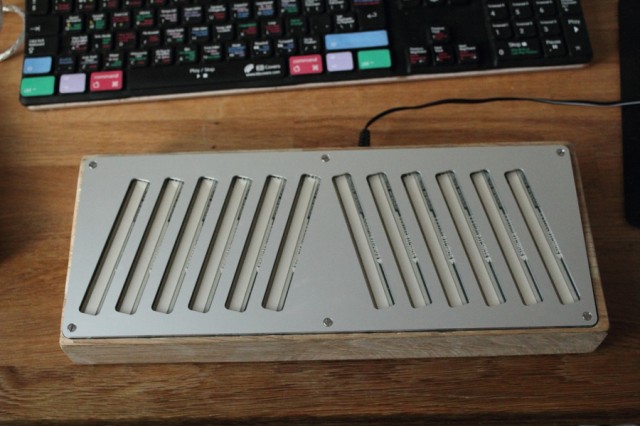
I milled an enclosure out of some leftovers I had of countertop oak from which I’d built my studio desk. It is the first thing I’ve milled, and I did it by hand, so it will need some sanding and finishing.
The next step was cutting out holes for the connectors, which I did with a Dremel, and cutting down a piece of acryllic glass for the bottom. The picture shows how it looks right now; the woodwork isn’t finished yet and the front-panel-sandwich is just lying in its place without being held by anything other than gravity.
At this point, I’ve spent around US$650 on it and 10 hours on construction and troubleshooting, plus lots of time deciding on function and design aspects. [Ed.: Not bad. Projects like this can be much bigger time and money sinks than that!]
I’ve recorded some demos of my first go with it:
http://kufrec.com/temp/atonal.mp3
These are minor scale-tuned oscillators; pressure controls the amplitude of each osc/strip and position on the ribbon determines how much the oscilliator belonging to the strip on the left will frequency-modulate the current osc. I ran everything through an eight-tap delay, with a separate filter per tap (5bp, 2lp, 1hp, but in a randomized order) and then some reverb… It gets really chaotic when I push a couple of neighboring strips, as the number of FM-operators influencing each other increase. It will take some time before I get enough control to really play this controller properly. But it is the most fun and rewarding thing I’ve been using in ages. The synth is the Nord Modular G2.
Sounds really like atonal trash, but even a simple FM patch gives a huge range of sound:
http://kufrec.com/temp/tonal.mp3
A more tonal thing now — sine oscillators, 2 per strip, tuned apart in intervals within a minor scale, for a total of 24 oscillators. Position controls amplitude and pressure controls the speed of a dedicated LFO (12 in total) and its amount of amplitude modulation. It is all transposable using a keyboard so I get more range. G2 again.
Lastly, I made an mp3 of a Karplus-Strong patch [physically-modeled string impulse] driven by the controller:
Position controls rate of an LFO sending impulses to a physical modelled string. Pressure controls amplitude.
http://kufrec.com/temp/karplus.mp3
Sources for parts:
Sensors:
http://www.sparkfun.com/commerce/categories.phpMidi-encoders [as in processing, not knobs – Ed.]:
http://highlyliquid.com/midi-controllers/midi-cpu/
http://www.doepfer.de/usb64.htmFront-panels:
http://www.schaeffer-ag.de/index.php?L=1
