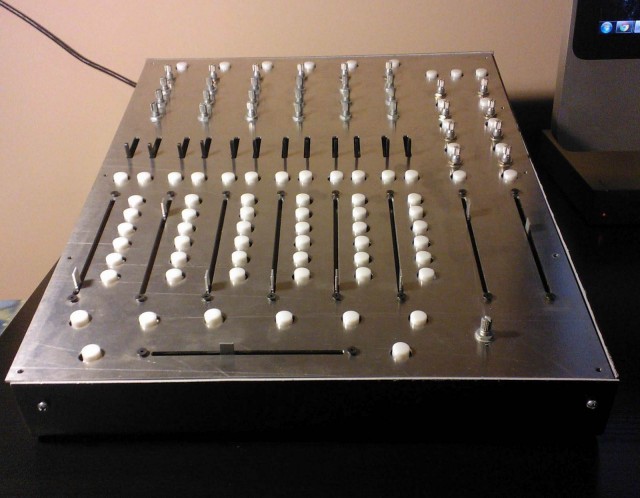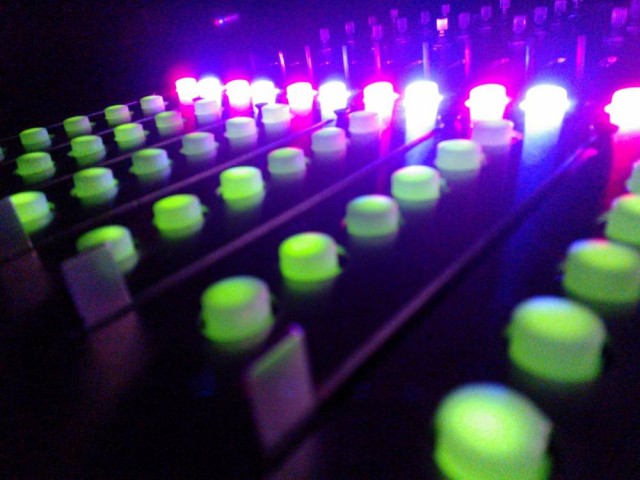
Crafted from aluminum, this DIY controller puts some of the store-bought options to shame. Photo by the creator, Adam Dzak.
Years ago, when the phrase “controllerism” was still yet-to-be-coined and there was no official hardware for Ableton Live, DJ Sasha had one hell of a custom piece of kit. The Maven featured oversize, hard-to-disconnect plugs and beautiful metal hardware. Years later, it’d still make any Ableton user drool.
What’s a Live user to do? Stop drooling, and start building.
DIYer and musician Adam Dzak did just that. He created his own MIDI controller, constructed from aircraft-grade aluminum, and used Ableton Live scripting to tailor control to software. The result is something a bit like the APC40 made by Ableton and Akai, but with I think a really lovely layout and massively-nicer build quality. Adam is also blogging all of this as he goes, with the hopes of making the build details available to others who want to create the same object – or design their own.
Introducing Apollo 13
http://adamdzak.blogspot.de/
The surprise? The whole project cost just US$487 in parts. That’s not counting labor, of course, and there’s a lot of that, but even keeping parts cost that low on a one-off is a major achievement.
The parts:
$200 – pushbutton leds
$180 – the actual MIDI interface*
$20 – all faders (big and small)
$20 – a sheet of 6061 aluminum
$20 – a sheet of 16ga steel
$11 – knobs
$10 – nylon stand offs and matching screws
$10 – all resistors
$8 – various wire
$5 – perf board
$3 – all diodes
And having used various options, the winner for assembling the controller – one I think is a fine choice for this application – is Livid’s Builder. He then builds a lot from scratch.
http://lividinstruments.com/hardware_builder.php
Of course, an easier solution would be to opt instead for Livid’s modular Elements product (more on that in a bit), but that eliminates the fun of having a truly custom layout and shell.
By the way, here’s what I said in 2005, rather casually; this certainly turned out to be true. What’s incredible is that there wasn’t much in the way of hardware at the time; a lot of people used gear like the M-Audio Oxygen8, though, then again, that still works reasonably well. What there was was the German-built, compact Faderfox – which still remains a competitive choice today. I wrote:
[The Maven] demonstrates how adding physical control can optimize working in Live for more active remixing. That’s a huge deal for those of us improvising whole musical sets with live instruments onstage. Sasha’s first out of the gate with this expensive custom job, but with new cheaper, plastic options for us poorer folks, you can bet this is a trend that will spread fast.
Also amusing: Sasha at the time lugged around a giant iMac G5, something you don’t have to do any more.
On reflection, the biggest change is that doing this sort of custom hardware is much more inexpensive than it was in 2005, owing to lots of custom shops (both locally and in China). And it’s also vastly better-documented and more accessible, via easier-to-use hardware platforms.
I absolutely adore this quote from Mythbusters’ Adam Savage, at the end:
“…maybe then I’ll achieve the end of this exercise, but really if we’re all going to be honest with ourselves I have to admit that achieving the end of the exercise was never the point of the exercise to begin with was it?”
– Adam Savage
Amen, brother.
Let us know if you get inspired by (the other) Adam’s work to try your own exercise in DIY controllers.
