

View video directly on blip.tv
Final Cut Studio 2 HD SmoothCam Tests [blip.tv]
Shoot jittery footage with your HDV/DV cam? While on a taxi ride? On a bumpy street, zoomed in, while being run off the road by the Hungarian mafia?* I know I do. While shooting freehand is great for that “Reality TV” look, sometimes you want to look like a pro while keeping your budget – and this is where Final Cut Studio 2’s new SmoothCam feature comes in.
(*It’s a long story, but yes, this happened. No, this is not that particular footage.)
SmoothCam is a technology borrowed from Apple’s high-end, node-based compositing system Shake that was ported to Final Cut Pro 6.0 as an easy-to-use effect filter. The basic idea is that SmoothCam tracks the motion vectors of the pixels in your footage and tries to make them as stable as possible, resulting in a smooth and bump-free shot. Sounds awesome, and as usual with Apple, it’s hyped to no end. But how good is it in the real world?
I have some footage shot from a trip to Budapest that I quite like, but some of the shots were taken from a moving vehicle, and are not anything close to stable. I like being an agile shooter and am usually completely unprepared to shoot things properly. I carry around my HDV camera (a Canon HV10), and can’t be bothered to carry anything like a steady cam or body rig (plus I wouldn’t be caught dead in one). So, suffice to say, I think my footage is good case material and is probably pretty representative of what guerrilla shooters will have. Let’s see how SmoothCam treats these two test clips.
Adding the SmoothCam filter is easy: select Effects > Video > SmoothCam on a selected clip in your sequence, and the Background Process will analyze your footage. Final Cut Pro 6 spawns a separate process called SmoothCamAnalyze that is multiprocessor-aware and pretty much stays out of the way.

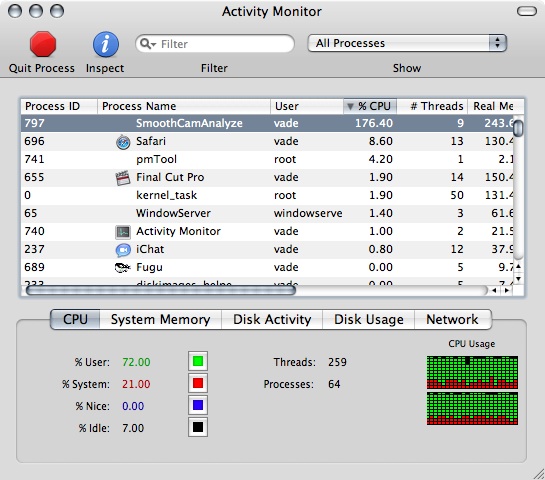
Whoa. 33 Hours? I wondered what was going on, tried smaller clips and different default settings to no avail, and then the lightbulb went off. HDV is a highly-compressed MPEG2-based codec, with Group Of Pictures encoding. This means SmoothCamAnalyze has to decode a whole set of frames for every one frame. Not good — an expensive and needless process. I converted my two HDV clips to ProRes 4:2:2 (Ed.: ProRes is Apple’s new, very efficient, not-very-lossy HD codec) and created a new sequence for them, and re-applied the SmoothCam effect:
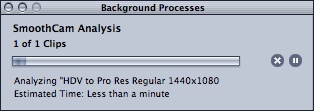
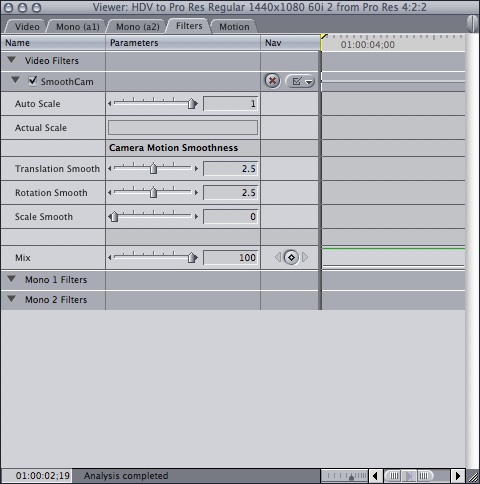
Ok – whew. Thats better. Suffice it to say, if you work with HDV or other highly compressed footage, its best to convert the sections you wish to use SmoothCam on to an uncompressed or Pro Res intermediate stage. The conversion to Pro Res took only a few seconds for my short test clips, and is much less painful in the long run. One other thing to note is that SmoothCam places a file in the same directory as the media it is analyzing that contains the motion vectors. The file is a .mtdf file, and is quite small. This is basically a cache of the analyzed data, so should you change some parameters, SmoothCam does not need to re-run. Once your video is analyzed, you still have to render in your sequence to see the smoothed result.
How did SmoothCam perform?
If you want to view the original HDV 1080i QuickTime files before and after, here they are in their unmodified form (you’ll need the proper codecs to view, of course!):
Clip 1: Without SmoothCam
Clip 1: With SmoothCam
Clip 2: Without SmoothCam
Clip 2: With SmoothCam
I’ll be honest: my jaw dropped. Once you get over your astonishment and start paying attention to the clips, you can see some artifacts, some stretching/skewing, but the effect is quite amazing. Ed.: Some of us are already thinking about intentionally throwing impossible footage at SmoothCam to get unusual effects, just because we like to abuse software, but that’s another story. -PK
You also will notice that SmoothCam has zoomed in on the raster a bit. The SmoothCam effect has parameters to control rotation correction, tilt correction and zoom correction amount. Thanks to the mtdf file generated earlier we don’t need to re-analyze after changing our parameters; a quick re-render will do the trick.
It looks to me like the skewing effect is actually from the CMOS sensor in the camera scanning over the frame, even though it is a progressive-scanned frame, meaning different parts of the frame may be from a slightly later moment in time. This means the vectors for the few frames where the camera is bumped are not all from the same time, thus the correcting vectors analyzed by SmoothCam are not 100% dead-on. Or, I’m over-analyzing this and SmoothCam is not perfect. Either way, you can play with the effects settings to minimize the skewing/warping of the image, but I was not able to remove it completely. It seemed to my eyes that the default setting was actually the best-looking.
All in all, I certainly know I’m going to be using SmoothCam quite a bit, and I think it’s more than worth the price of entry for Studio 2.0.
Ed.: Stay tuned for more Studio 2.0 coverage, and do let us know if you’ve begun working with this feature. I’m particularly interested in that slight distortion and its cause. We’ll follow up on that! -PK